I ditched chemical straightening, and this is how I learned to tame my curls
Embrace your curly hair with these tried and tested hair hacks

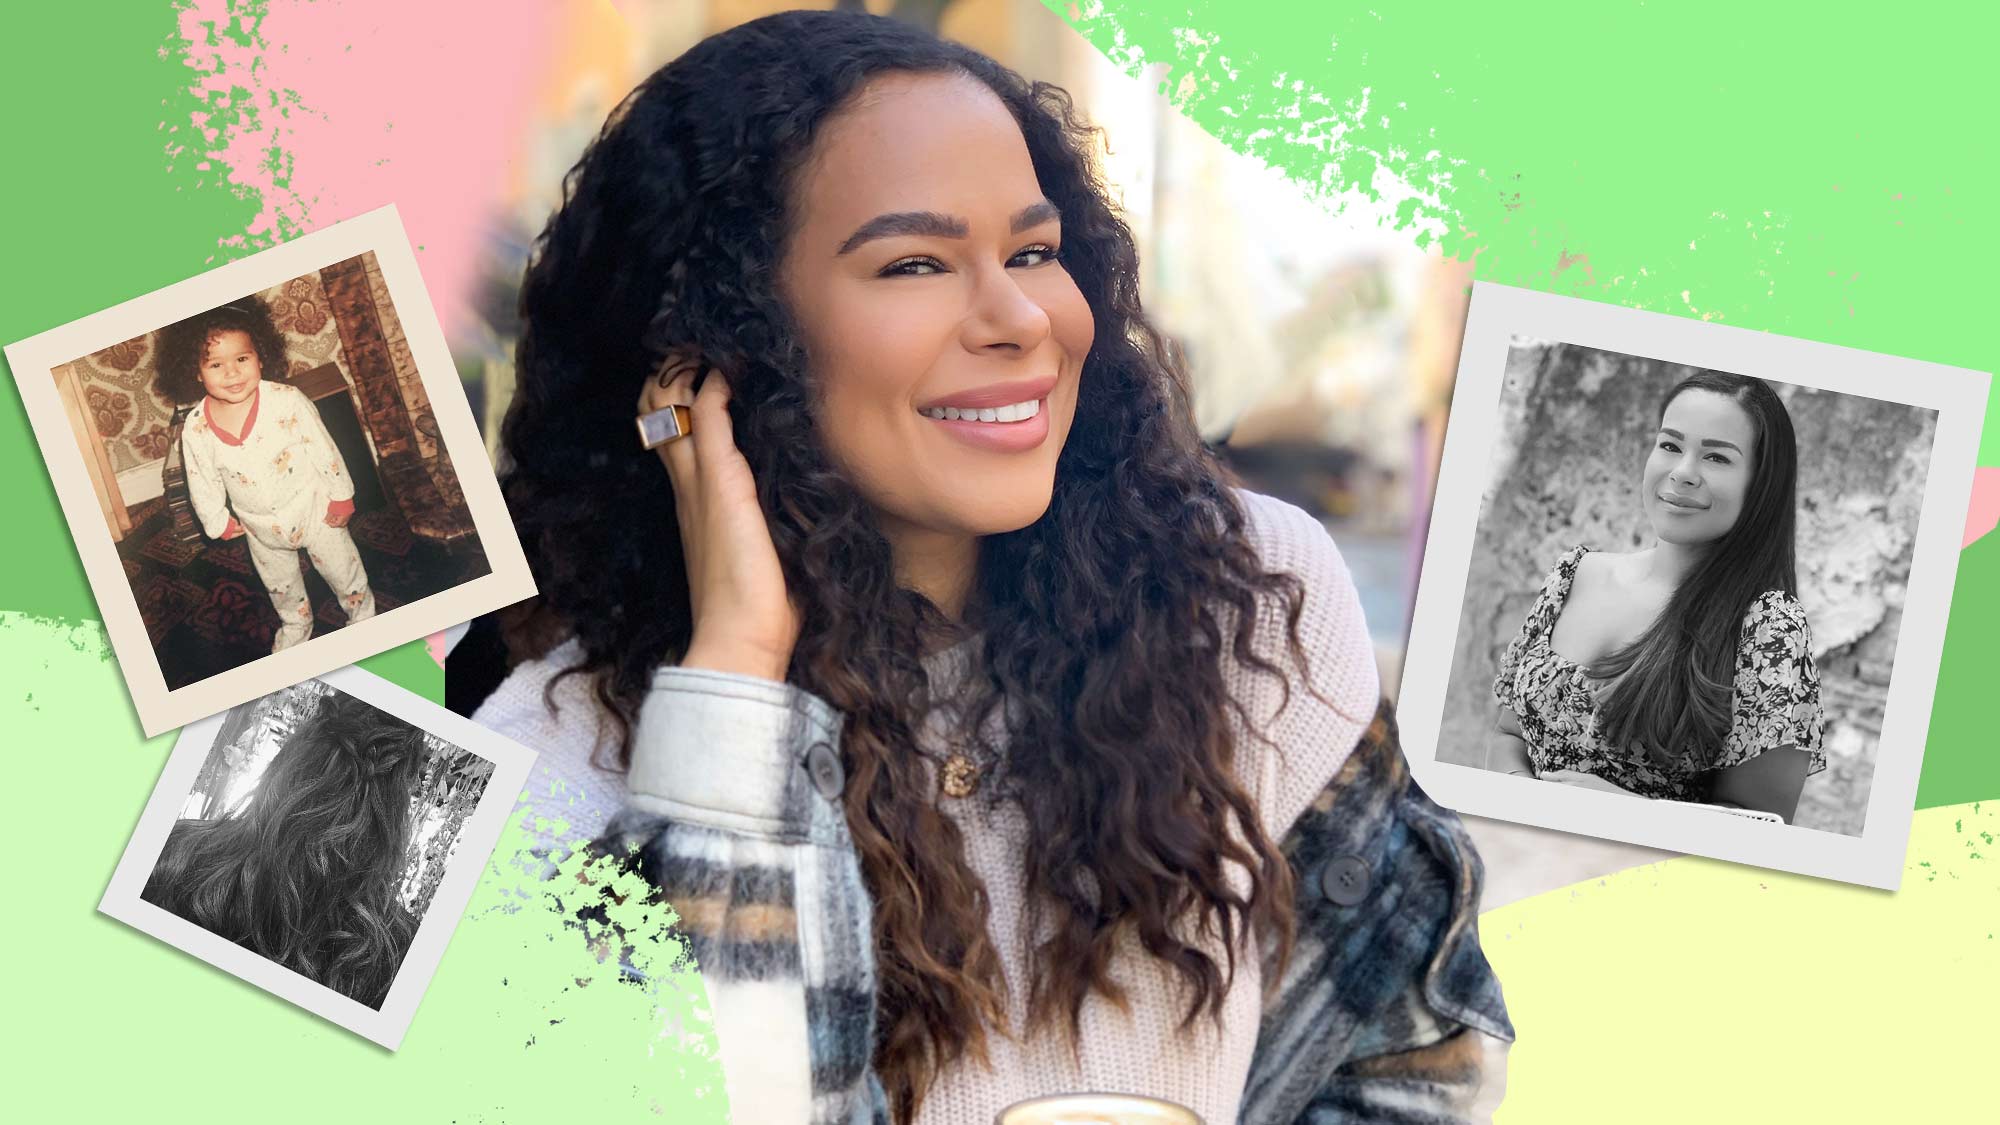
I was six years old the first time my ringlets were transformed to look just like the long straight smooth tresses of my favourite Disney characters. I loved the way it swished as I walked, and how it made me feel grown-up and pretty. But once washed the curls returned and it was years before I had another blow-dry. With my mother (and father) knowing very little about how to deal with my mixed heritage 3B curls, and under the impression that she could mitigate knotting by cutting my hair short, I spent a few years rocking my mother’s at home haircuts of which all photographic evidence has been destroyed.
- The Curly Girl Method for beginners: here's how to nail the cult regime in three steps
Later as a teen I discovered relaxer, a treatment that turned my curly hair poker straight in just 25 minutes. Dubbed by users as Creamy Crack (because it’s addictive AF), "relaxer generally comes in the form of a cream and contains strong alkali actives like lye and sodium hydroxide. These chemicals alter the hair’s texture by penetrating the cuticle and cortex layers of the hair shaft, breaking down its natural structure and loosening the hairs curl pattern to straighten it. It can leave the hair weak, brittle and prone to breakage, and if left on too long, relaxers can cause mass hair loss," explains award-winning hairstylist, owner & artistic director of the Hair Lounge Salon, Charlotte Mensah.
At the start, I was totally unaware of the dangers of this chemical treatment. All I knew was relaxing my hair meant not having to wake up early to straighten it before school, and not having to worry about midday frizz or the effects of being caught in a downpour. It was liberating, and aside from making my barnet easier to manage, it also helped me fit into Western societies rigid standards of beauty that favoured European features—something that growing up as someone of mixed heritage I was all too aware of.
- Try one of the best brushes for curly hair so you can detangle and define without snagging or creating fizz
But, as a decade past the allure began to wear off. Recognizing that the thinning, and breakage I was experiencing would only get worse, and inspired by the natural hair movement—which encourages women to embrace the natural texture of their hair and see the beauty in our curls, coils and waves—I ditched the Creamy Crack for good.
Countless bad hair days ensued before I slowly but surely learnt how best to look after and style my curls. These are the invaluable lessons I learnt…
1. Don’t over shampoo
Traditional shampoo formulas are packed with sulphates that can also strip away natural oils, leading to scalp irritation, and a reduction in much-needed moisture. But luckily it turns out to eliminate dirt, pollution, sweat, and product build-up shampooing isn’t the only answer.
Cue co-washing, aka conditioner only washing—a practice that’s perfect for naturally dry curly hair. To co-wash you simply soak your hair with water and then massage your conditioner into the scalp before thoroughly rinsing it out.
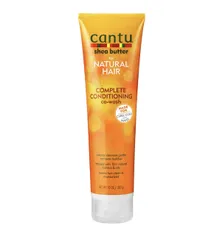
While you can use your everyday curly hair-specific conditioner, I prefer to use a co-wash like Cantu Shea Butter Complete Conditioning Co-Wash, $10.99 / £6.99, as they include gentle cleansing ingredients that leave the scalp and hair clean without leaving it dry and dehydrated.
2. Lock in Moisture
Curly hair is naturally more porous, so it has a tough time retaining moisture, which makes reinjecting moisture back into curls key. The LOC Method, aka the Liquid, Oil, Cream method approved by curly girls around the globe advocates layering your moisturizing haircare in an order that ensures the most moisture retention possible.
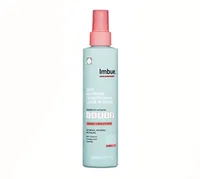
Post cleansing, I spritz in frizz reducing Imbue Curl Inspiring Conditioning Leave-in Spray, £7.99. A liquid element opens the hair cuticles allowing further penetration of the products that follow, and this one adds moisture and makes combing a breeze.
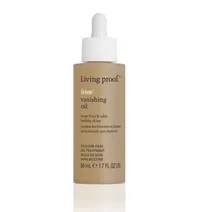
Next, I use the shine-boosting Living Proof Hair Frizz Vanishing Oil, $41 / £31, as this treats tresses and mimics our natural oils giving hair a megawatt shine.
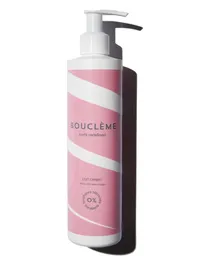
To finish I lock all the moisturizing and repairing ingredients into my hair shaft with the Boucleme Curl Cream, $25 / £19, which has the added benefit of curl definition to boot.
3. Sleep in style: try the pineapple hair hack
When it came to my curls, sleep was the enemy. On days I’d performed the LOC method I’d go to bed with beautifully shiny and defined curls only to wake with a halo of frizz, and dry looking squished coils. That was until I came across a pineapple hair tutorial online. You simply gather all your hair to the crown and once you resemble a pineapple you secure your curls loosely with a hair band.
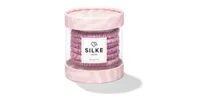
I use the Silke London Silke Hair Bands, $44 / £30, as these eliminate damaging friction, clawing and tugging.
Get a silk pillowcase
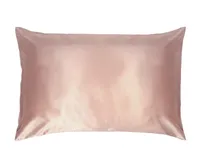
Some people follow this up by wrapping their hair with a silk scarf to avoid cotton bedding from absorbing moisture and reduce frizzing caused friction, but I use a Slip Pure Silk Pillowcase, $125 / £85, instead.
4. Create uniformity in your curls by finger coiling
It’s absolutely normal to have a variety of curl types sprouting from your head at any one time. I have defined corkscrew curls on the top and bottom layers, while hiding in the middle you’ll find a mass of coarser, frizzier tighter curls. The best way to create uniformity comes in the form of finger coiling. When applying your chosen curl-defining product twist small sections of hair around your fingers to help define your curls and regulate your curl pattern. I’m not going to lie, this is time-consuming, especially if you have a lot of hair but the results make it worth the effort.
5. Section your hair for complete product distribution
Sectioning your hair when applying products is a total game-changer. It sounds so obvious but before I started my natural hair journey I would just squeeze my styling products on my palms and distribute them haphazardly. But, by actually sectioning your hair and applying repairing, nourishing, and styling products section by section you’re not just looking after the top layers, you’re ensuring your whole barnet reaps the benefits.
Amerley is an award-winning beauty & lifestyle journalist who has been writing for the UK’s most well-known glossies, websites and newspapers for over a decade. Known for her ability to predict the next big trend, there is really very little she won’t try for a story. From microblading and injectables, to10 step skincare plans and breathing her way to better skin, Amerley loves to share her experiences and write relatable, informative and trend-led copy for beauty novices and junkies alike.
