How to make scented candles at home
Say bye-bye to shop-bought candles – once you learn how to make scented candles at home, you won’t look back

Will scented candles ever go out of fashion? Doubtful. But if, like us, you’re a bit of a candle addict and have them burning regularly, you’ll know it can be an expensive indulgence—especially if you're treating yourself to the best scented candles on the market. No need to tighten your purse strings, though! Learning how to make scented candles at home is not only an easy procedure that requires minimal kit, it’s also cost effective and a pretty therapeutic process, too.
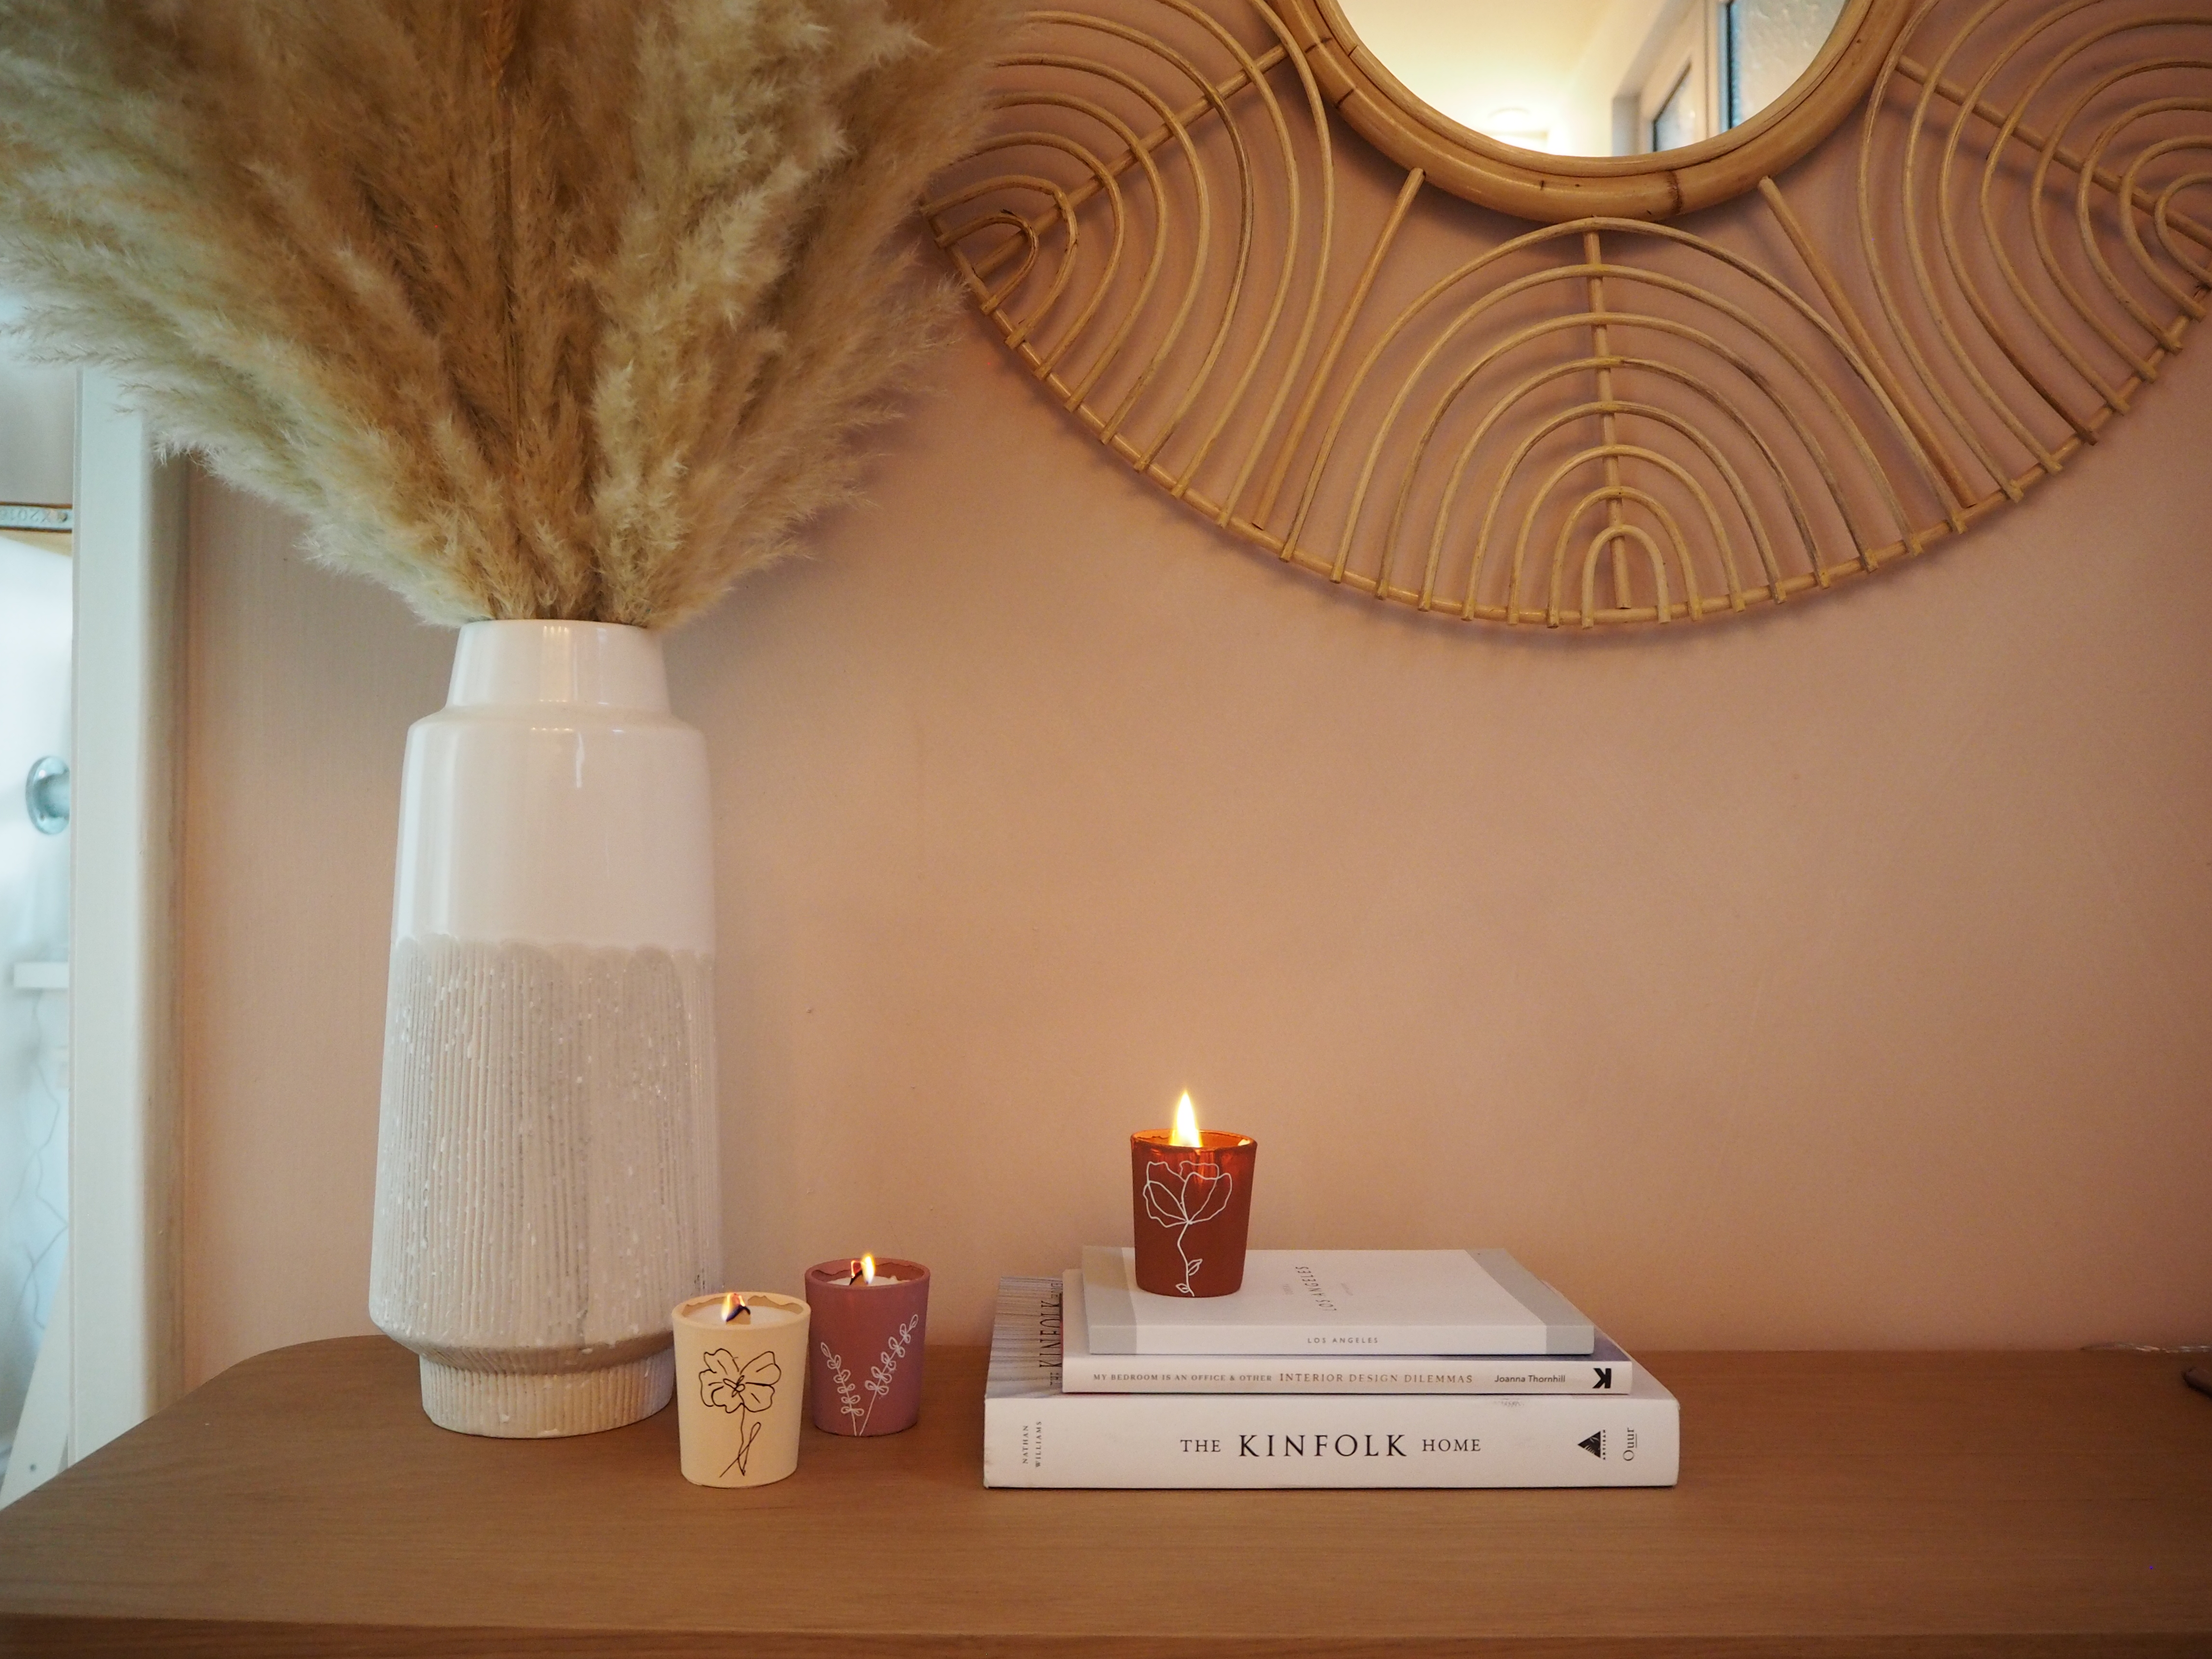
We’ve designed these pretty botanical-inspired designs, which are super simple and speedy to make, but if a flower motif doesn’t strike your fancy, why not go for a slogan or initial instead? Once you’re an expert at making them, you can get more creative by using fun candle molds, printable labels and experimenting with your own fragrances. And once you’re happy with your homemade candles, why not treat friends and family, as they make a great gift?
We’ve got the lowdown on everything you need to know before you start, from the ingredients to buy and the fragrance to blend, so you’ll be a candle-making pro in no time.
How to make scented candles at home
What type of wax should I use?
Before you leap in and start ordering your candle-making ingredients, you’ll need to decide which wax you want to use: You can choose from soy and paraffin, beeswax and gel. Paraffin wax is one of the most common, but if you’d like to opt for a more eco-friendly wax, we’d suggest soy. (Soy also burns slower, so your candle lasts longer!)
Most soy wax is made from 100-percent soybean oil, while others are blended with other natural oils, like coconut. Something you may want to keep in mind is that when using essential oils with soy wax, you won’t get a highly scented candle—it’s a more subtle scent, but worth it if you want to keep things natural.
What's the difference between wood and cotton wicks?
There’s no right or wrong when it comes to choosing the wick for your candle. Wooden wicks are thin pieces of wood, which create an atmospheric crackling sound as they burn, while cotton wicks are braided cotton strands that have been dipped in wax to seal them.
We’ve chosen to use wooden wicks for our candles as they have a better scent circulation when burning, plus they burn for longer, too. However, it’s good to note that wooden wicks don’t do as well as cotton wicks in drafty places, so make sure you place your candle in a room with an even temperature.
Whichever wick you decide to use, make sure the first time you burn your candle you do so until the wax has completely melted to each side of the candle glass, to ensure it burns down evenly. And, with any wick, you should trim it before each use—ideally you want it to stay at around a quarter inch. For a wooden wick, you can use a sharp pair of scissors or even nail clippers to trim it!
Which oil blends are there?
Choosing your own fragrance is the fun part of DIYing scented candles and you can enjoy experimenting with different combinations—getting a scent that you love will be purely down to personal preference. We’ve used a soothing mix of ylang ylang, lavender and orange, but you can choose a blend of your own, or a single oil scent instead. A few of our favorite combinations are:
- Sweet orange + rosemary
- Rosemary + cedarwood
- Bergamot + wild orange + cypress
- Ylang ylang + geranium
- Tangerine + black pepper
- Sandalwood + cinnamon + jasmine + vetiver
- Basil + sweet orange
You’ll need to use more oil than you think to get a noticeable fragrance from essential oils, as they don’t smell as strongly as many synthetic varieties. As a guide, try using two teaspoons of oil for around four ounces of melted wax—or add more if you want a stronger scent.
Lastly, if you have kids or pets, make sure you do research beforehand to check your chosen oils are safe to use!
Ingredients for scented candles
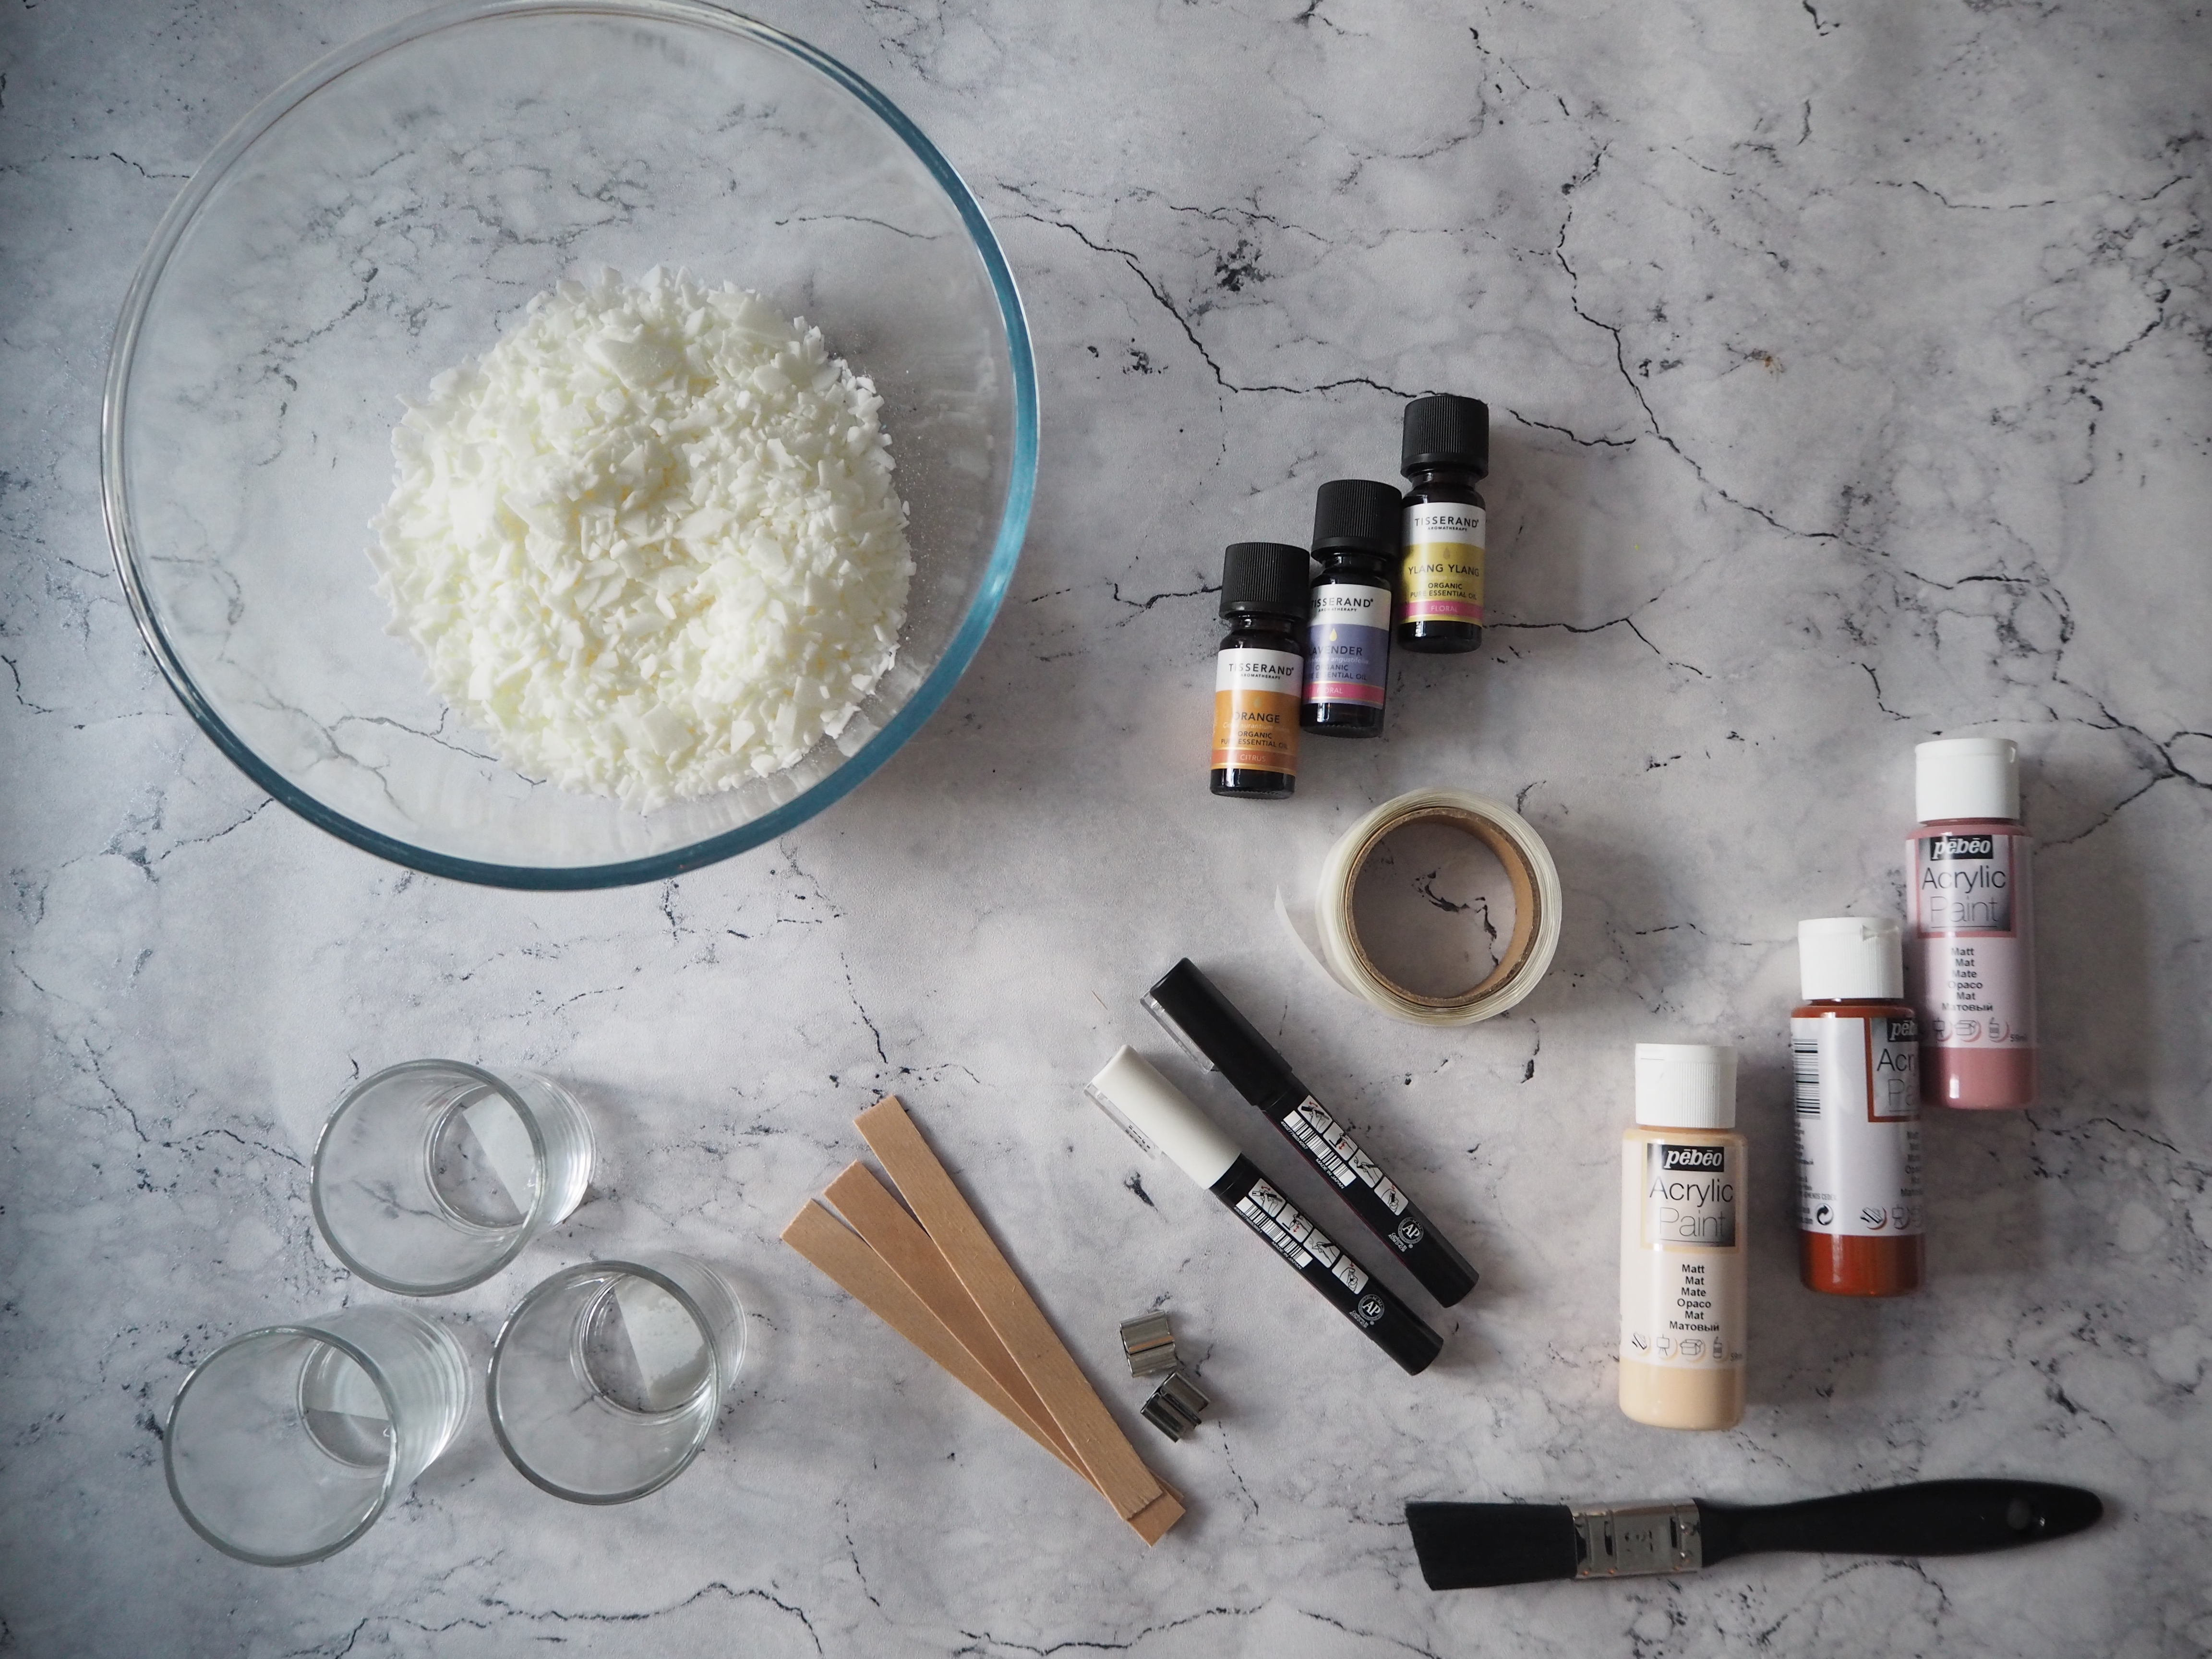
Ready to get started and make your own scented candles? Here’s what you’ll need:
- Soy wax flakes
- Wood wicks with iron stands
- Clear glass votives/candle jars (suitable for heat)
- Essential oils
- Posca pens
- Matte acrylic or chalk paint
- Glue dots
- Paintbrush
- Saucepan
- Heatproof bowl
Instructions for scented candles
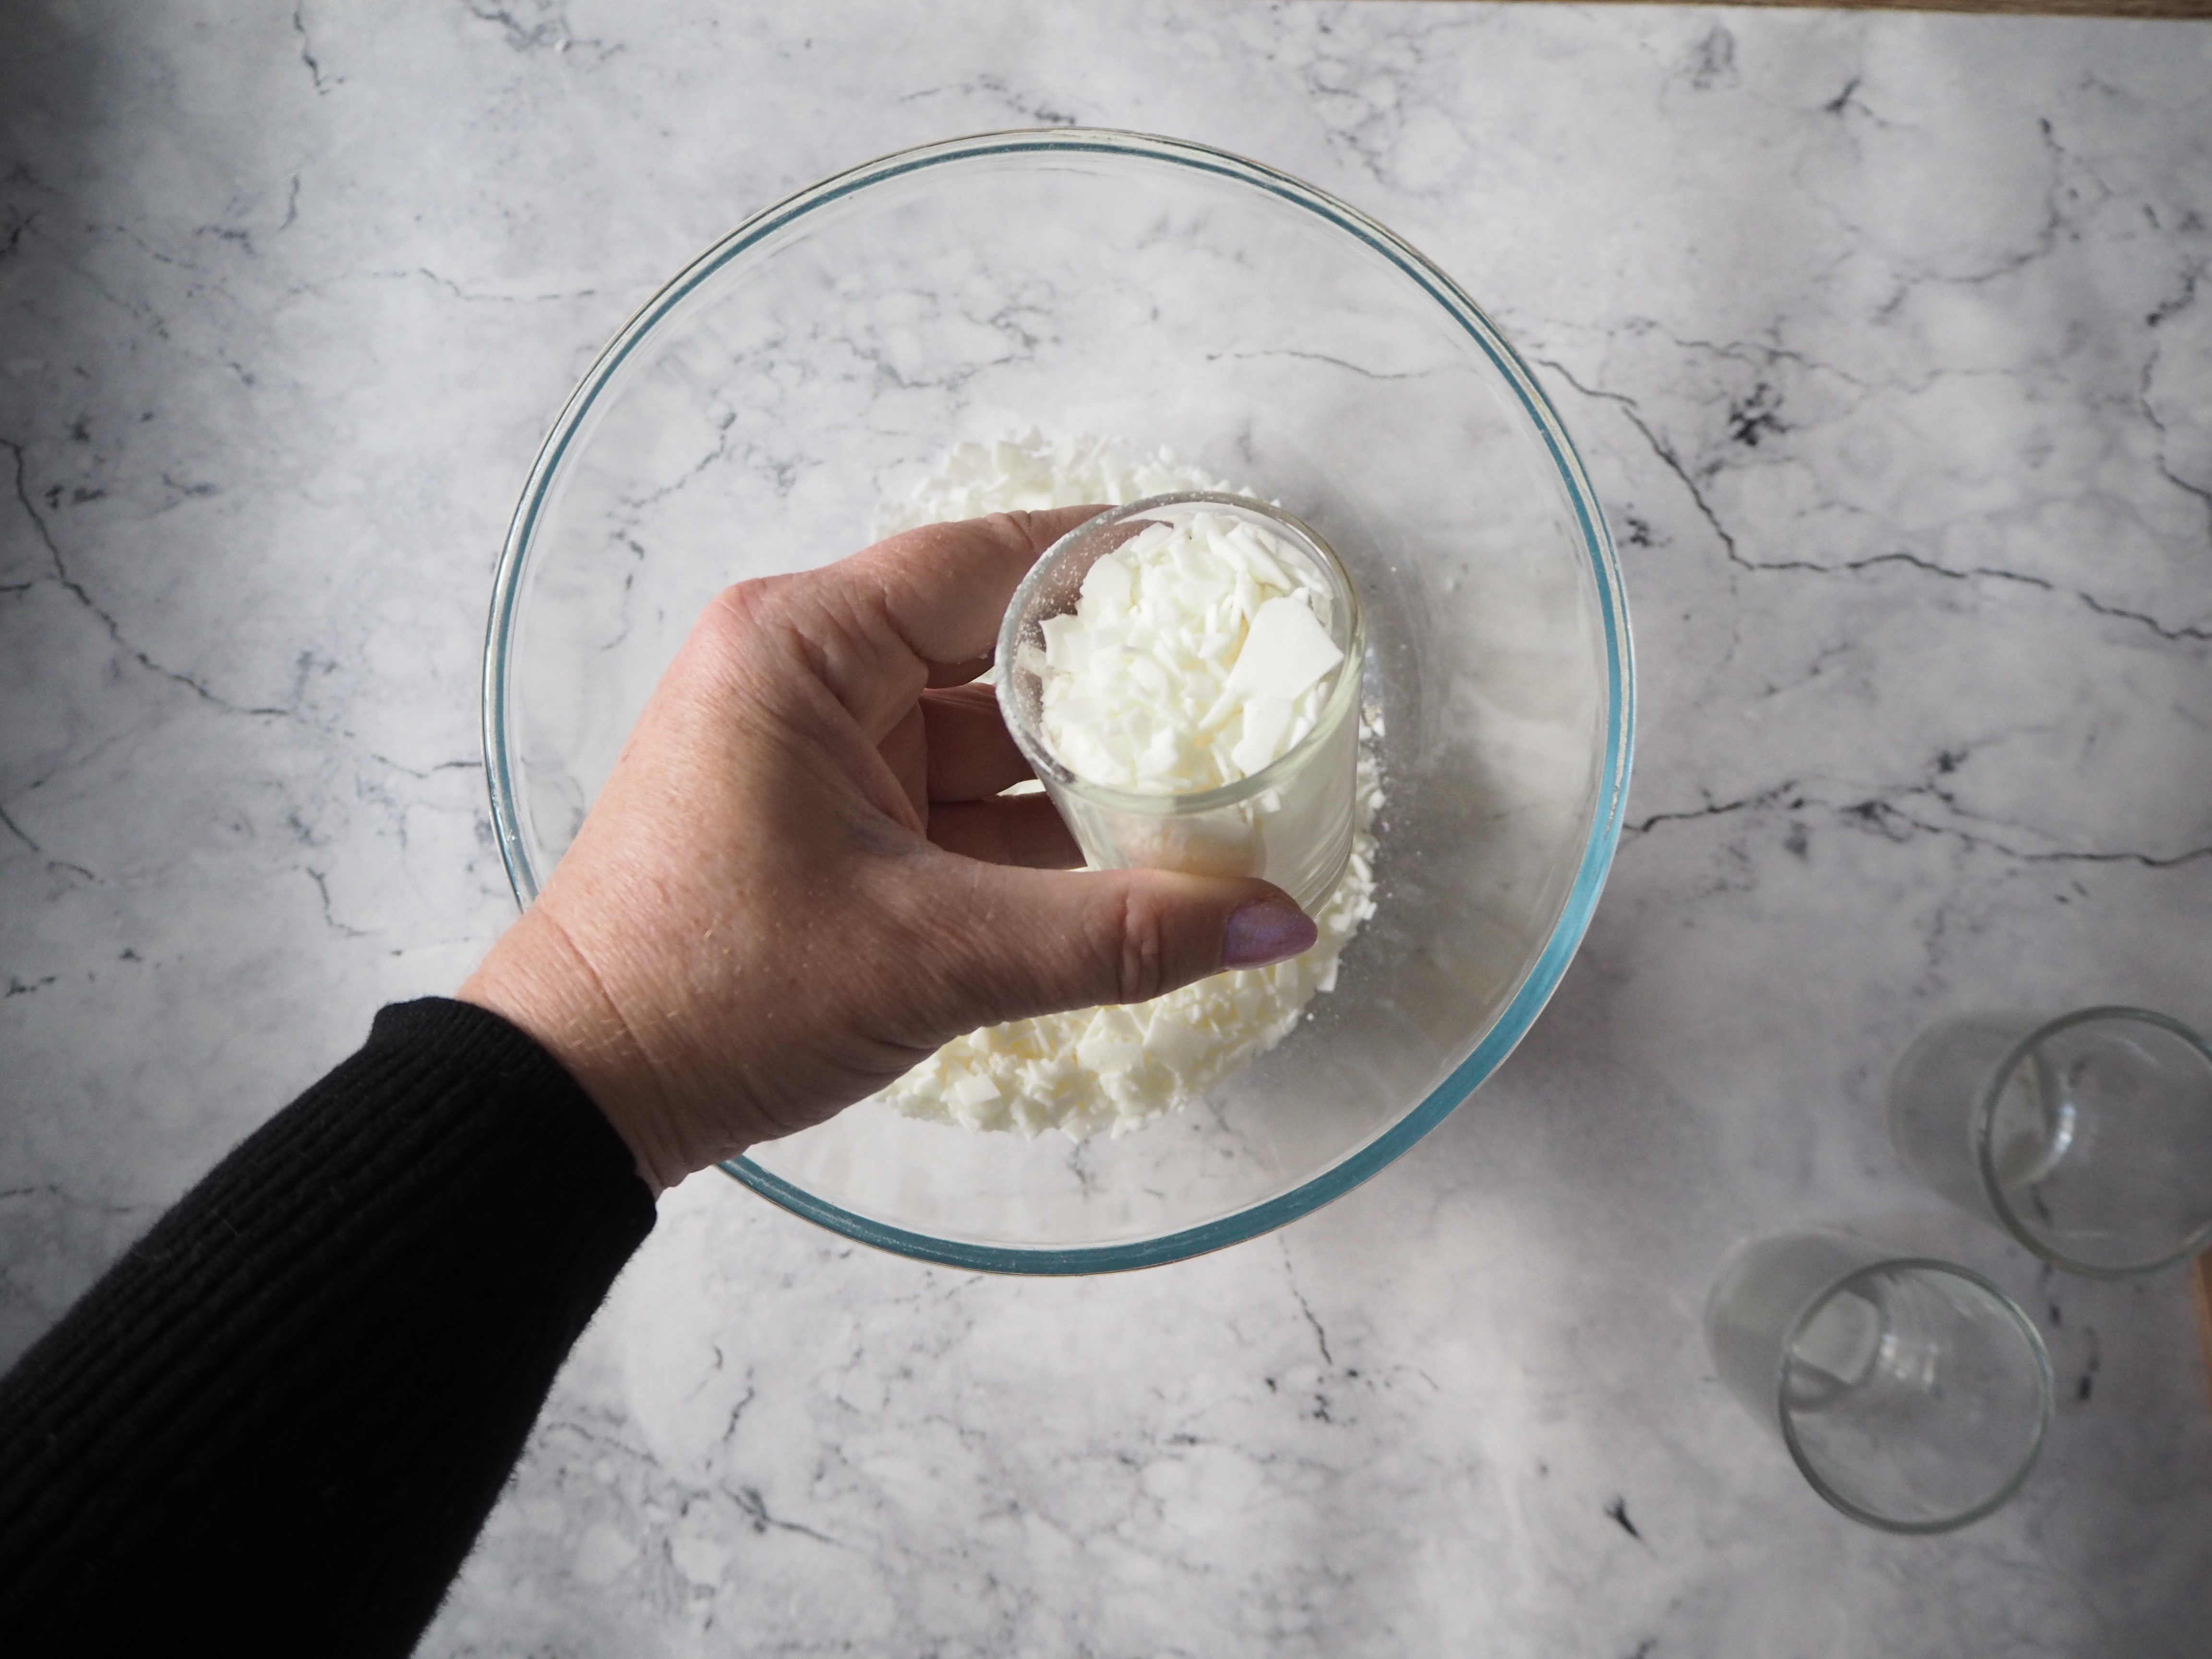
1. Start by chopping your wax into small pieces—the smaller the better, as it will take less time to melt. Once that’s done, measure out how much you’ll need by filling your glass vessel with wax twice (wax melts to around half the volume once melted, hence why you need double). Tip it all into your heatproof bowl.
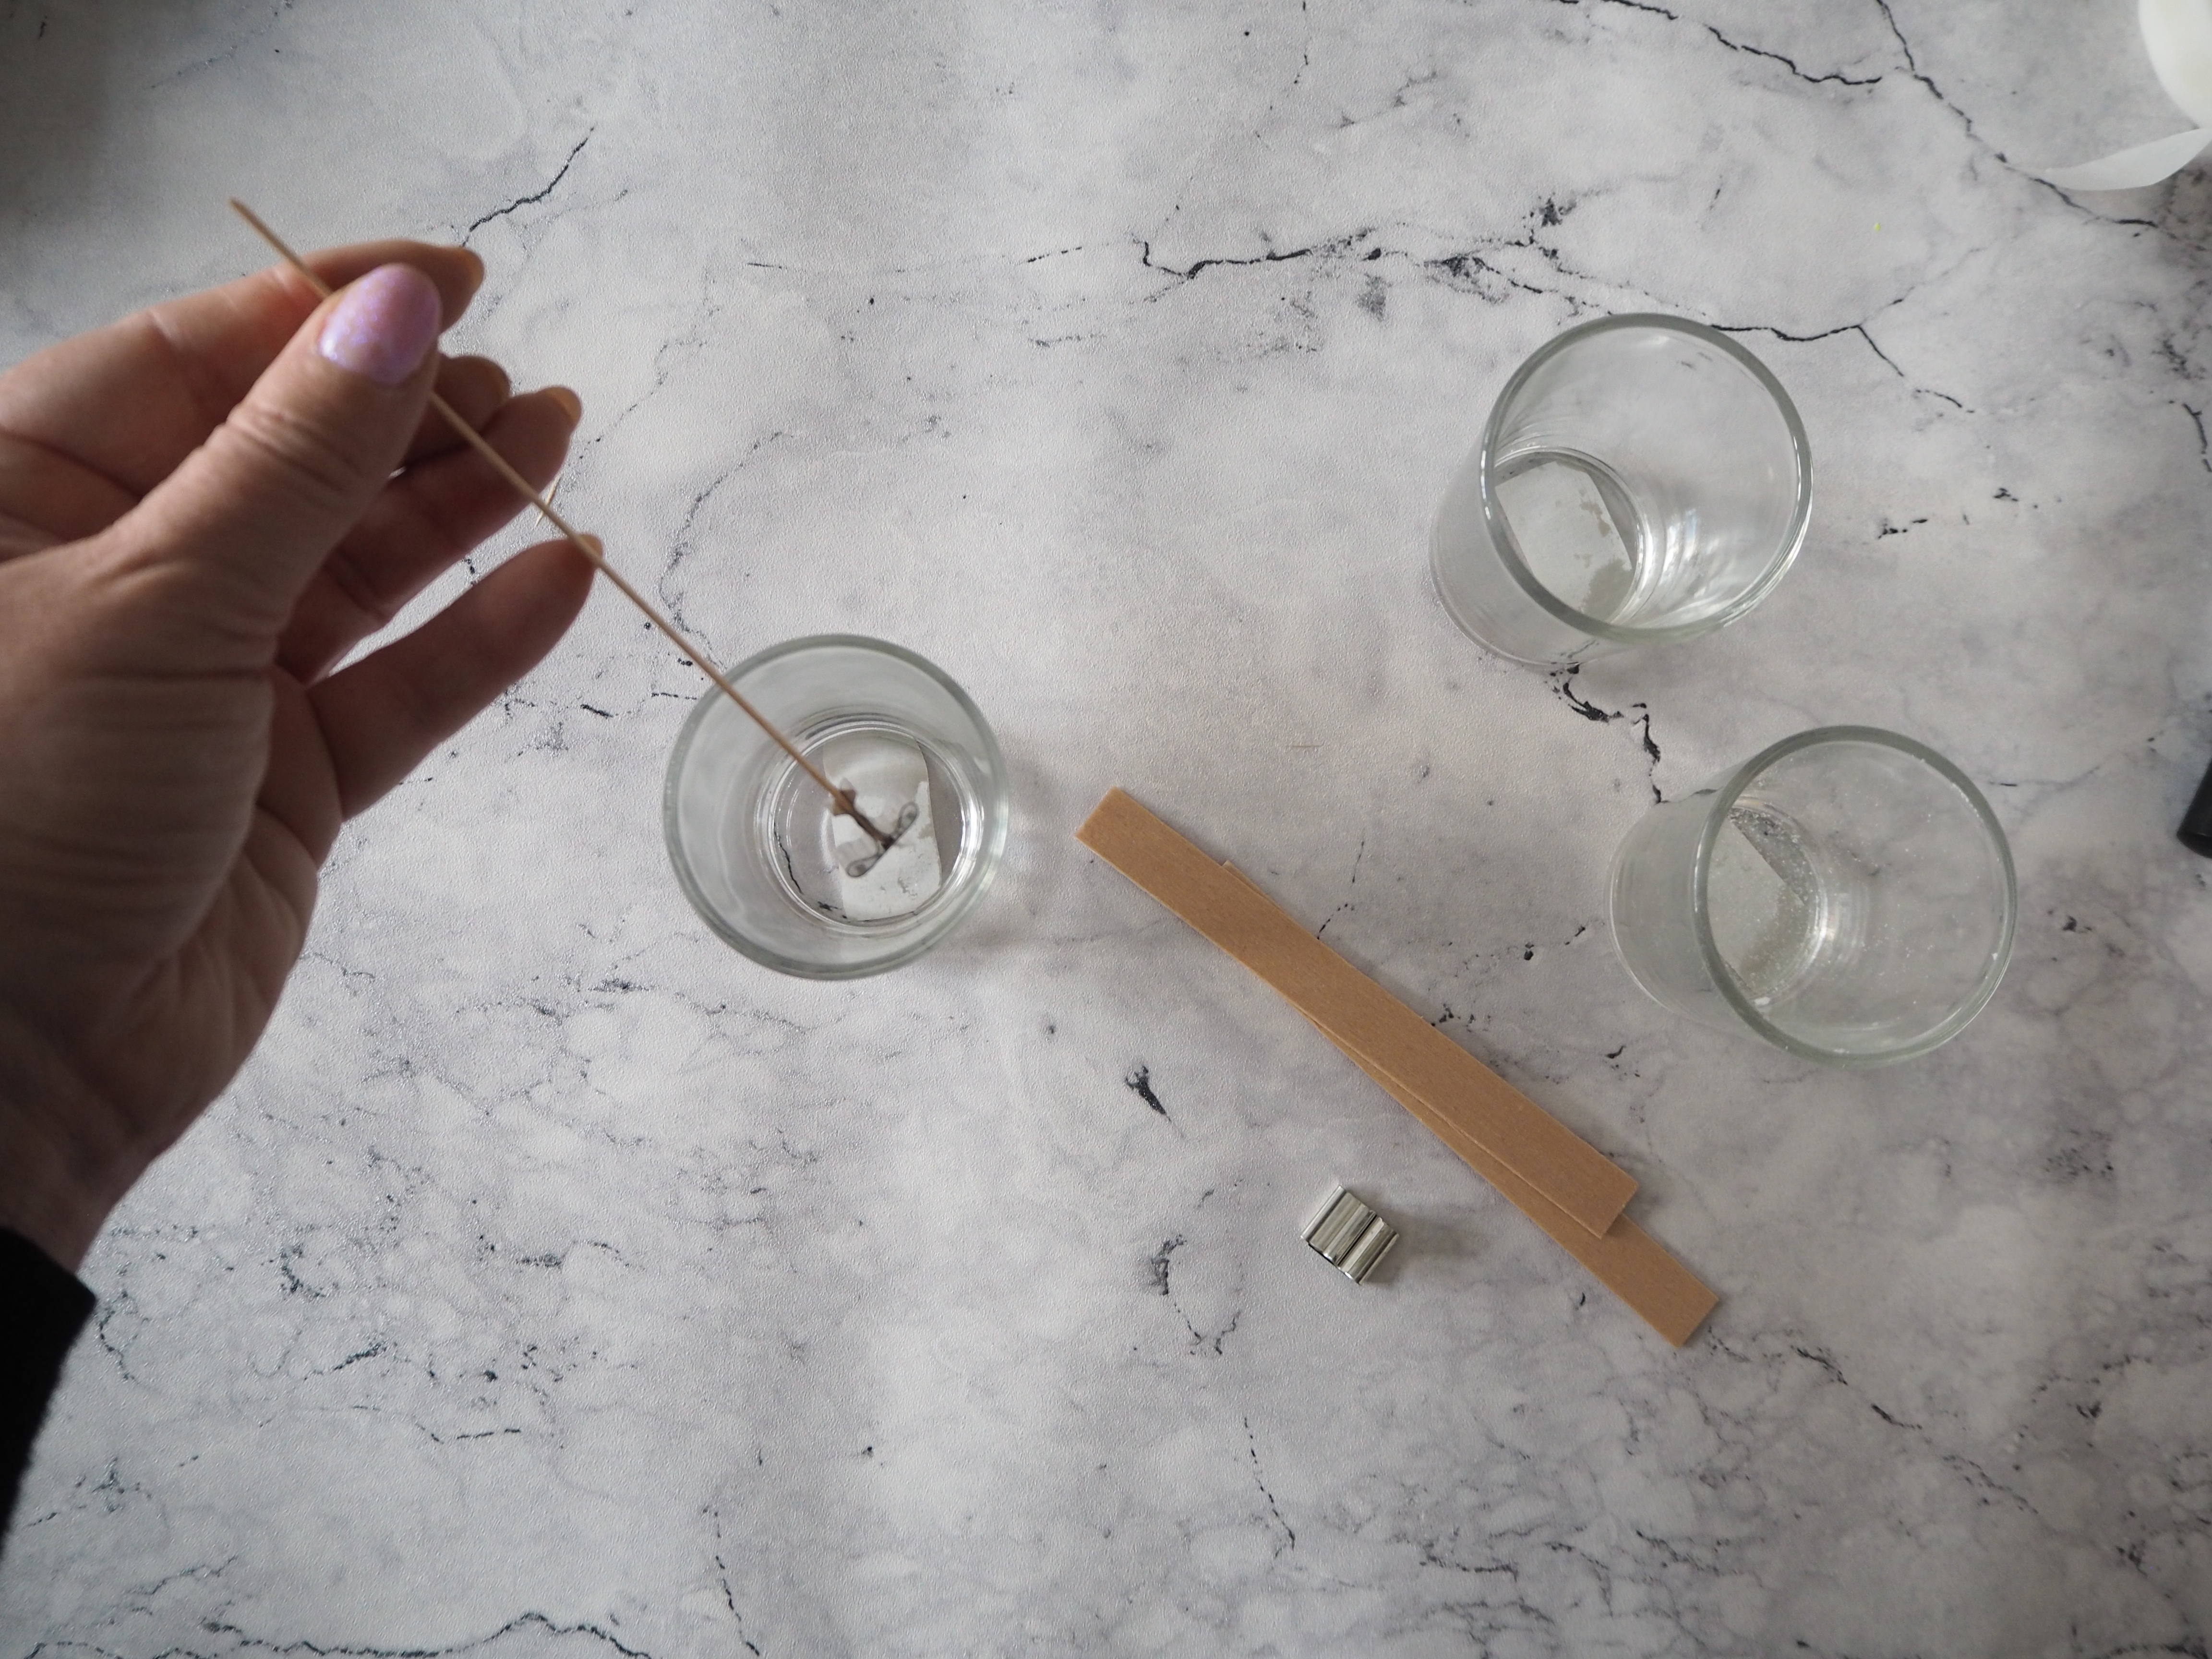
2. Next, add the wooden wicks to your glass votives. Slot them into the iron stands, add a glue dot under the stand and then place it in the middle of your glass jar. You can trim the wick down at a later point if it’s a lot higher than the top of your jar. Set to one side.
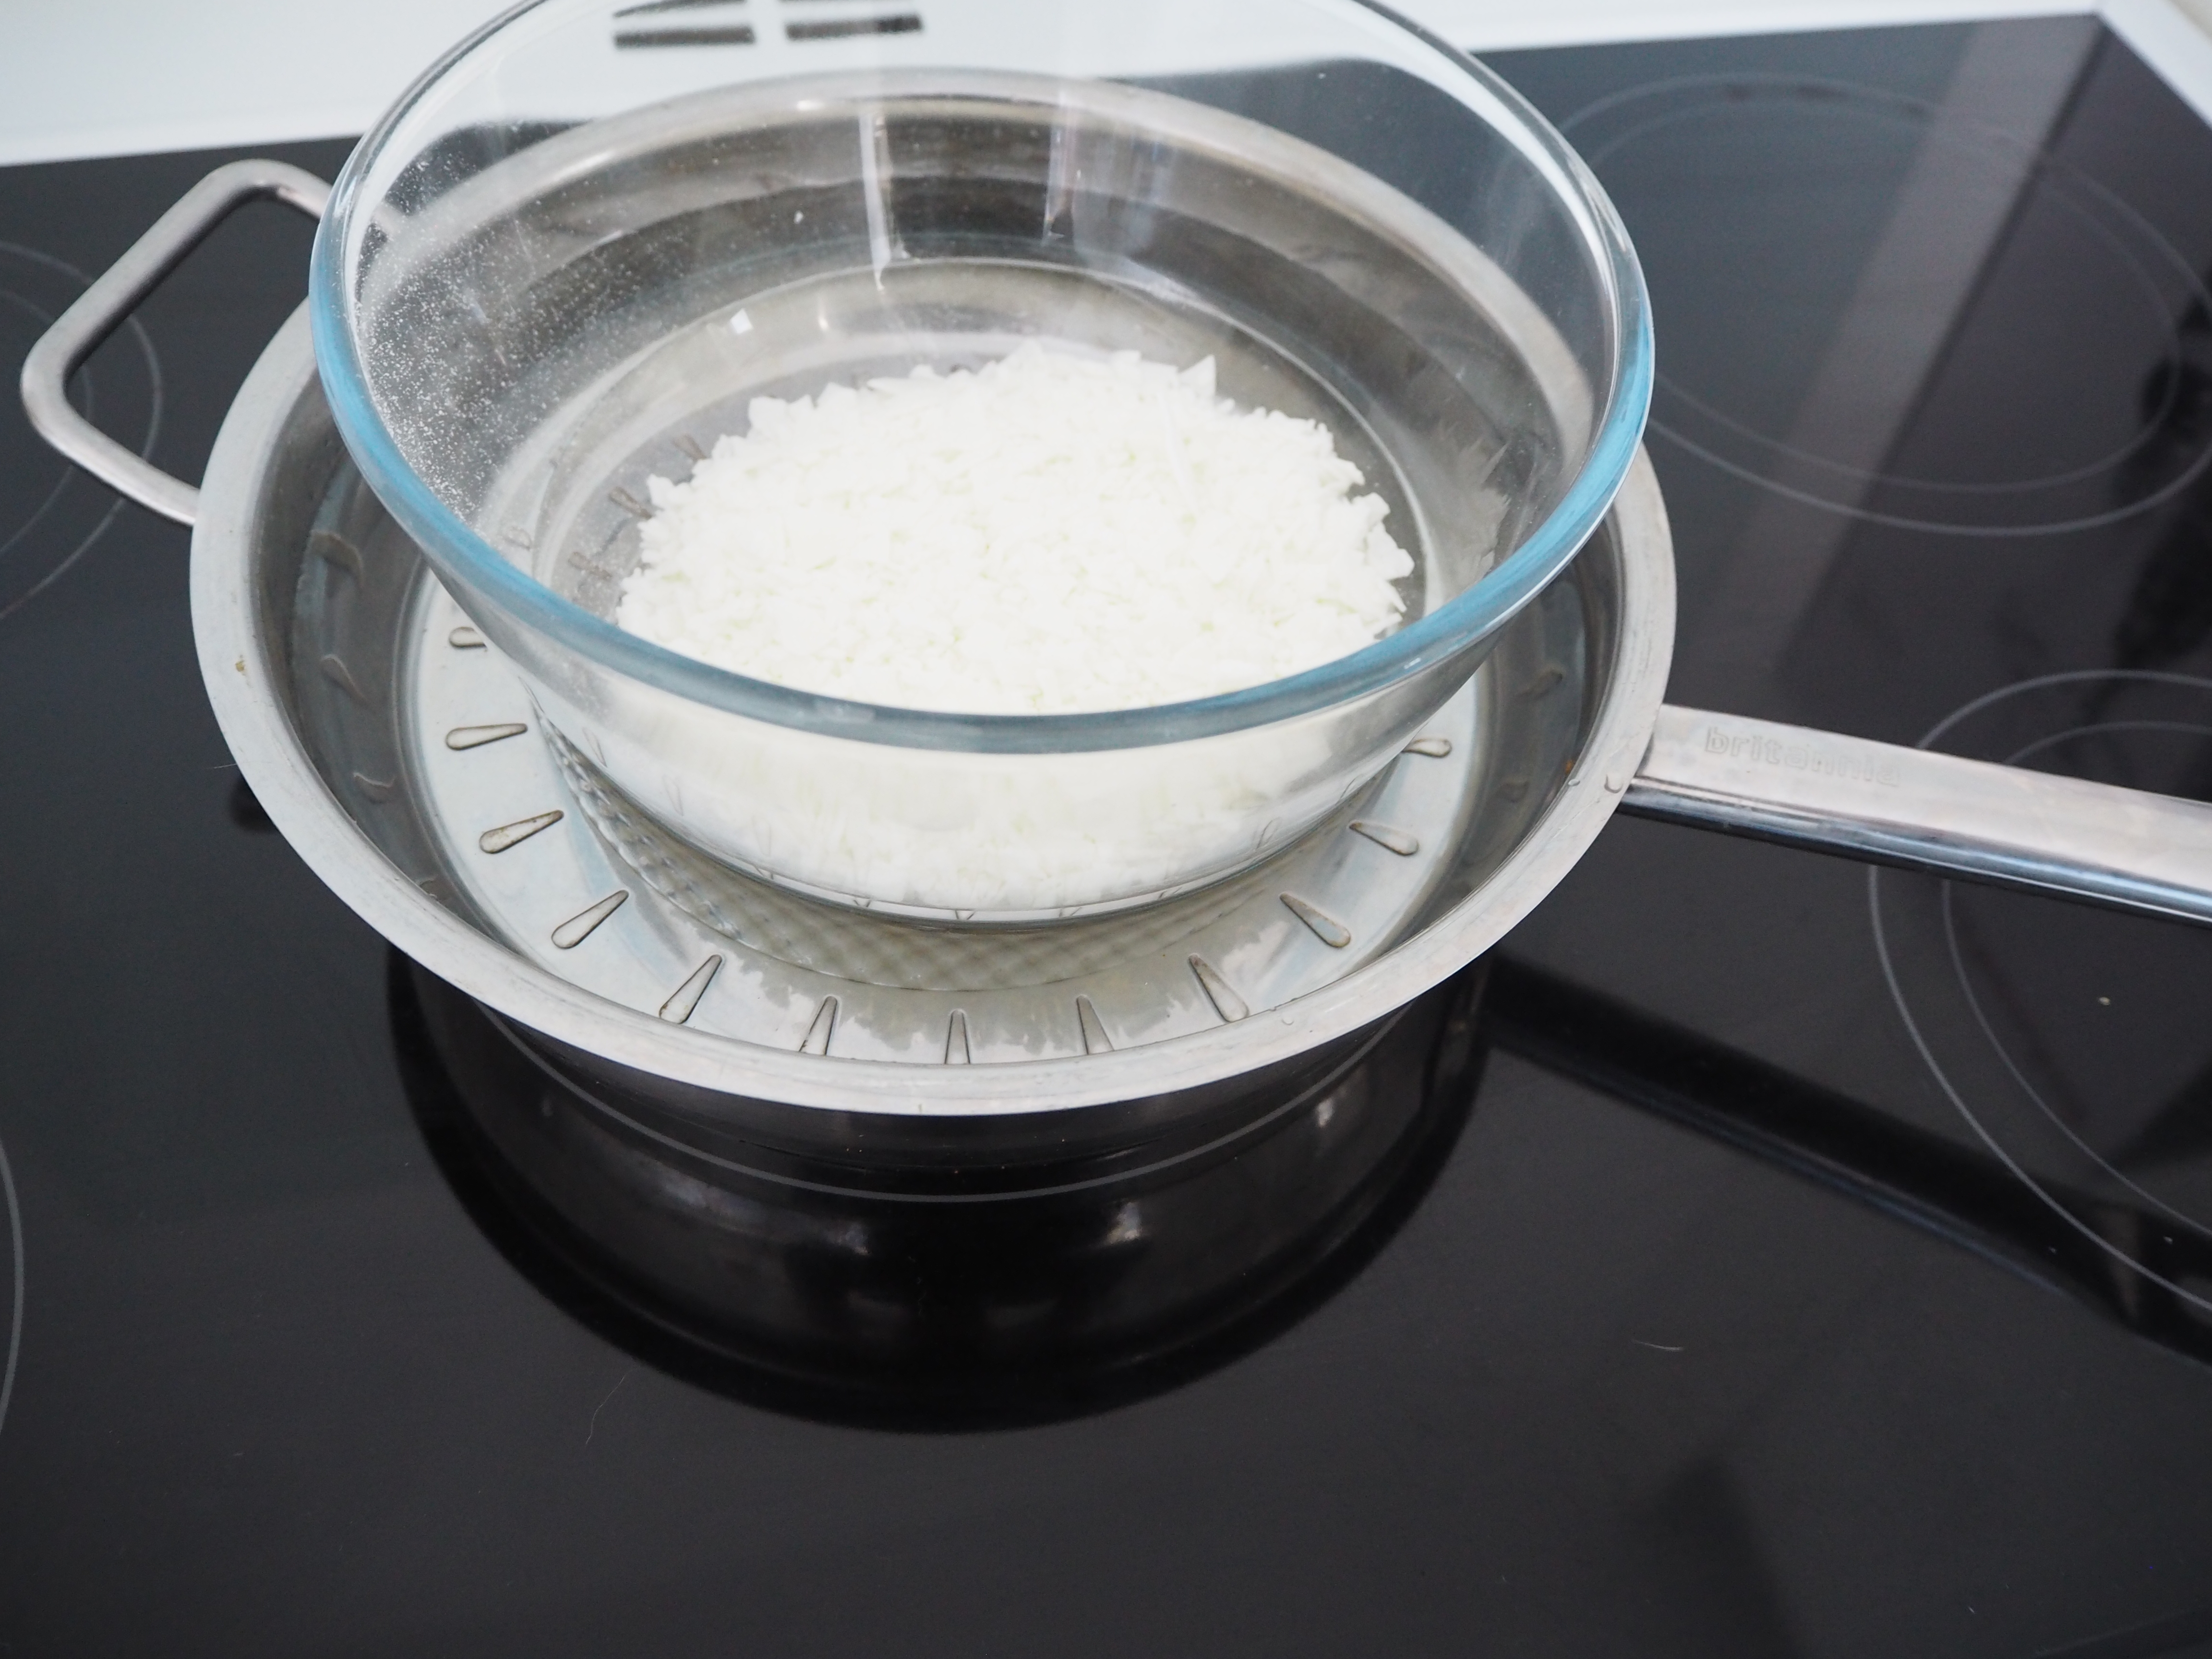
3. Fill your pan with water and wait for it to simmer, then set your heatproof bowl (with the wax in) on top and leave it to melt. Try not to stir it too much and don’t let the temperature exceed 194 degrees F (90 degrees C)—you can use a thermometer to check it if you want to.
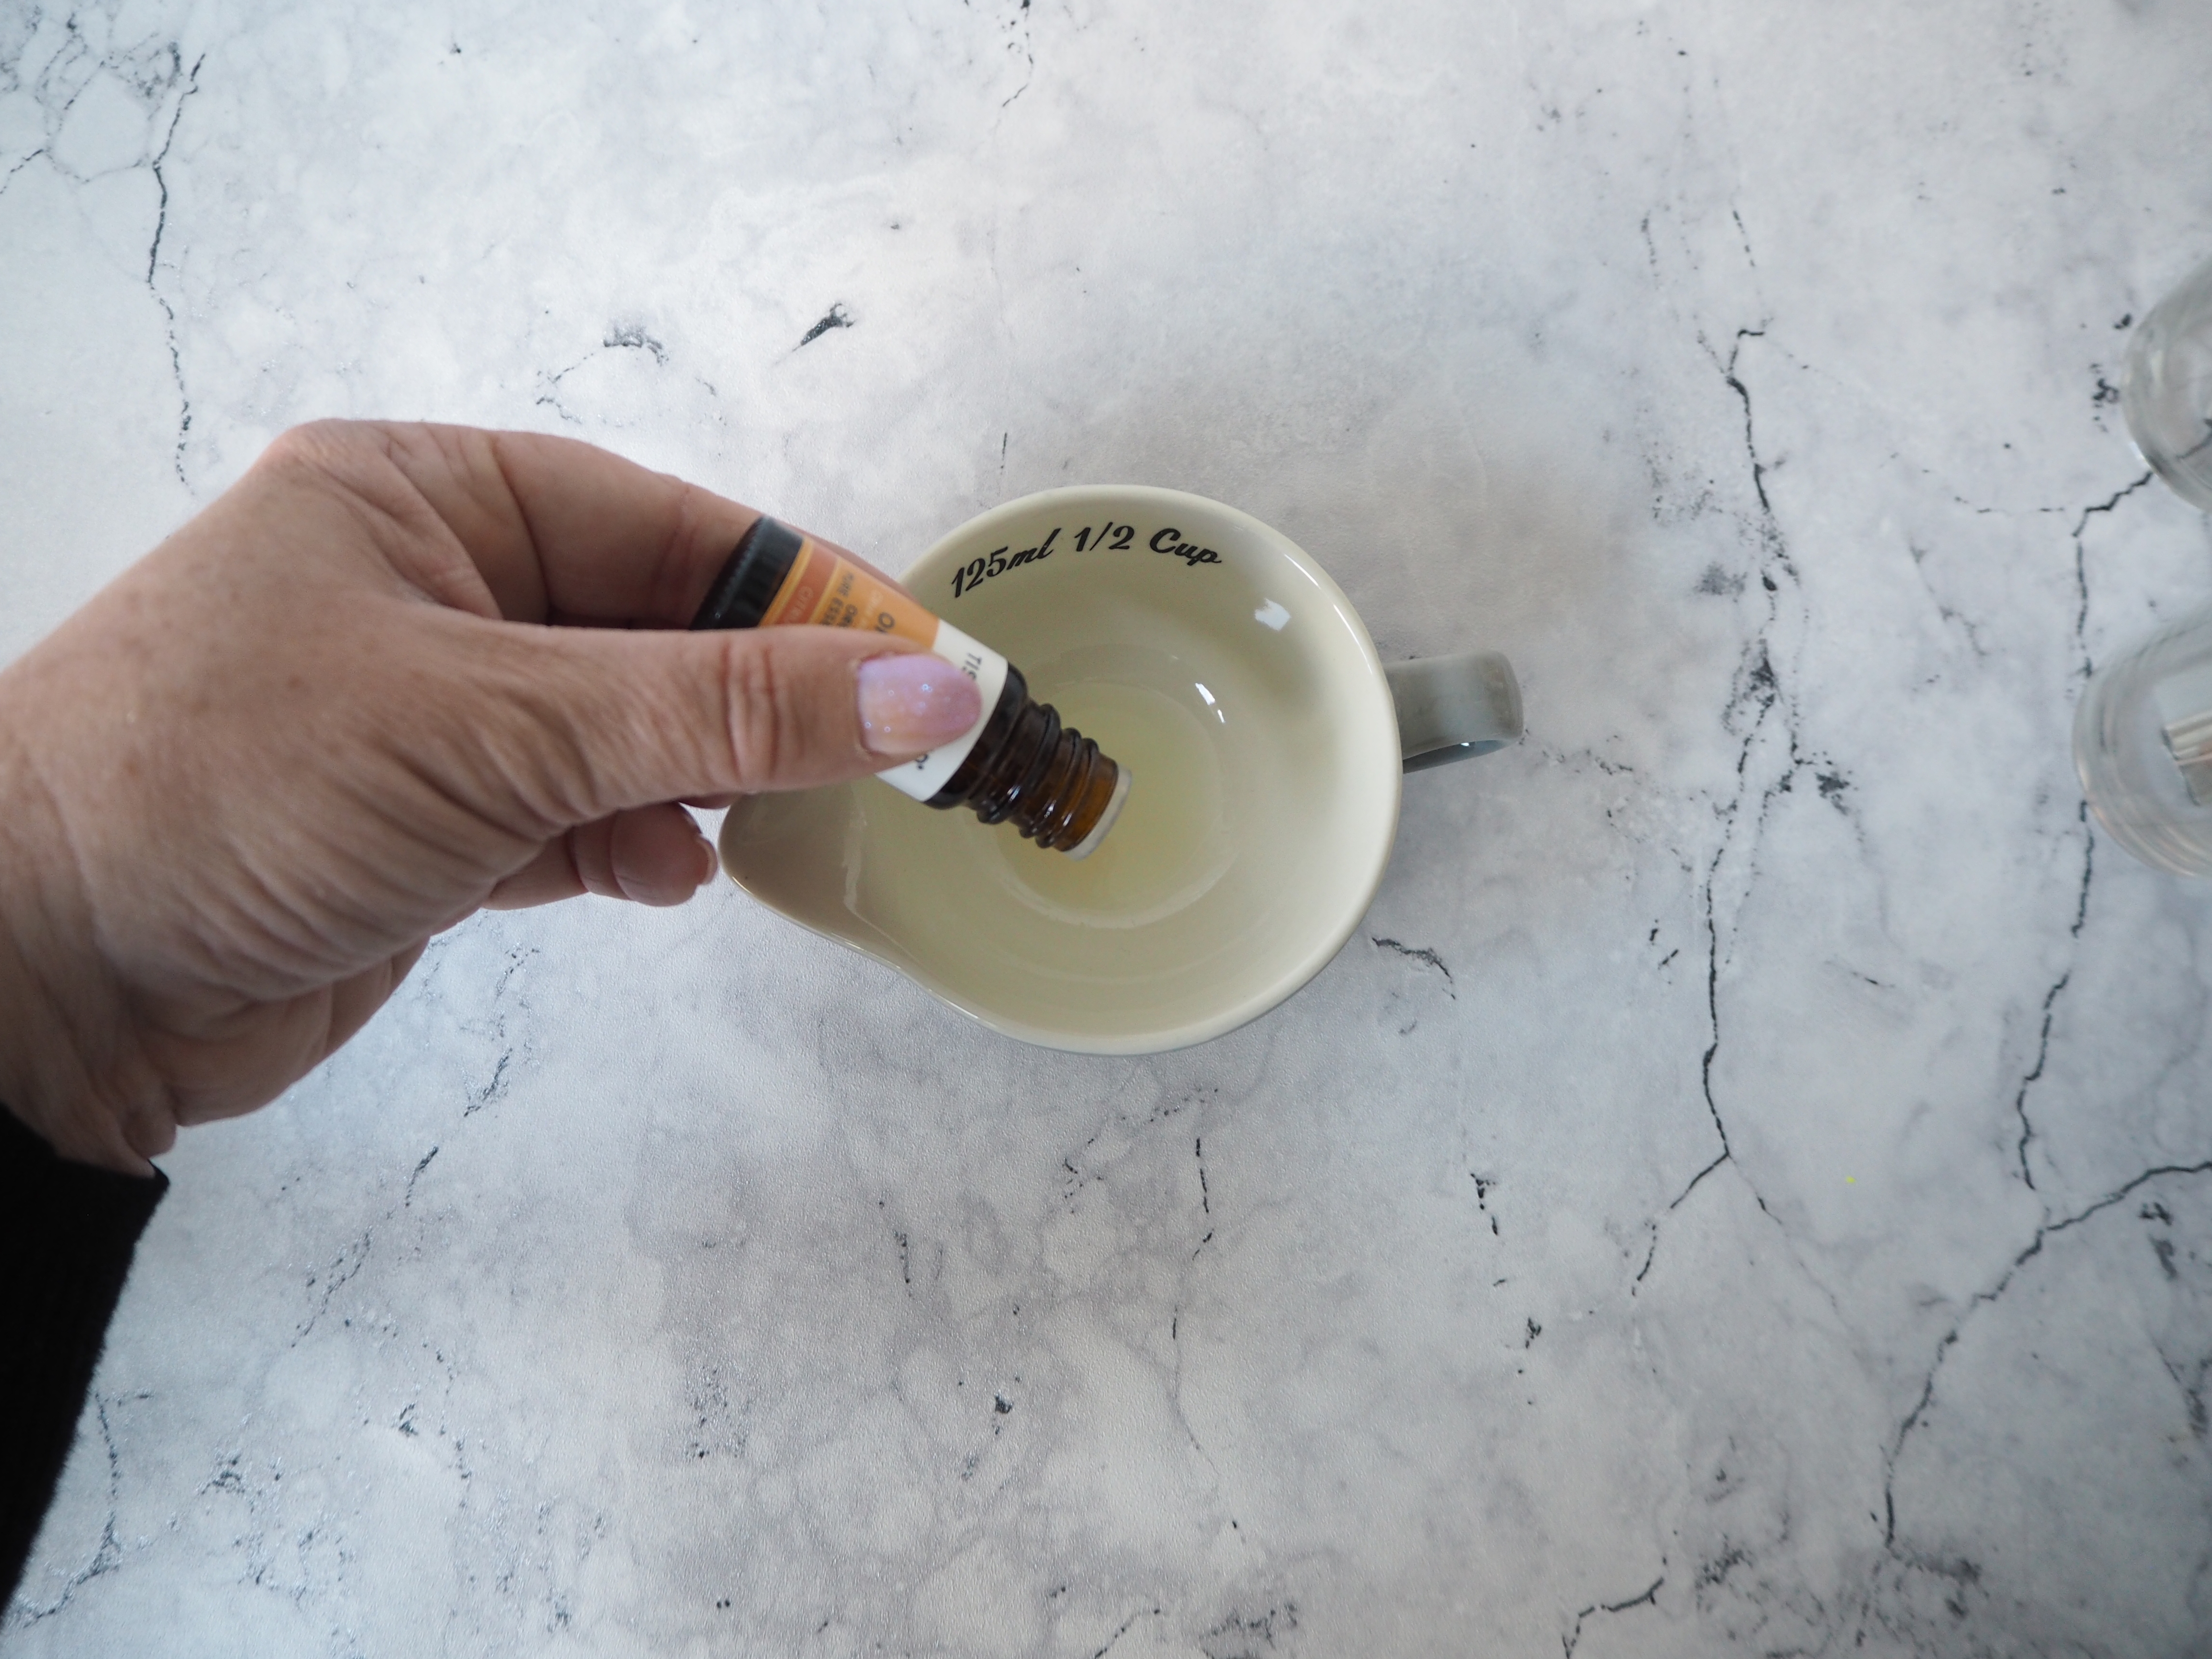
4. Once the wax is fully melted and has turned to liquid, remove it from the heat and leave it for a couple of minutes before adding your essential oil. Adding the oil in after the liquid has cooled slightly will allow for a stronger fragrance. (Add it in too soon and it can destroy the active compounds in your oils and dampen the scent!) You’ll need around 30-40 drops for one candle, so if you’re using a blend of oils, divide that up into an even number of drops and then give it a good stir to mix it well.
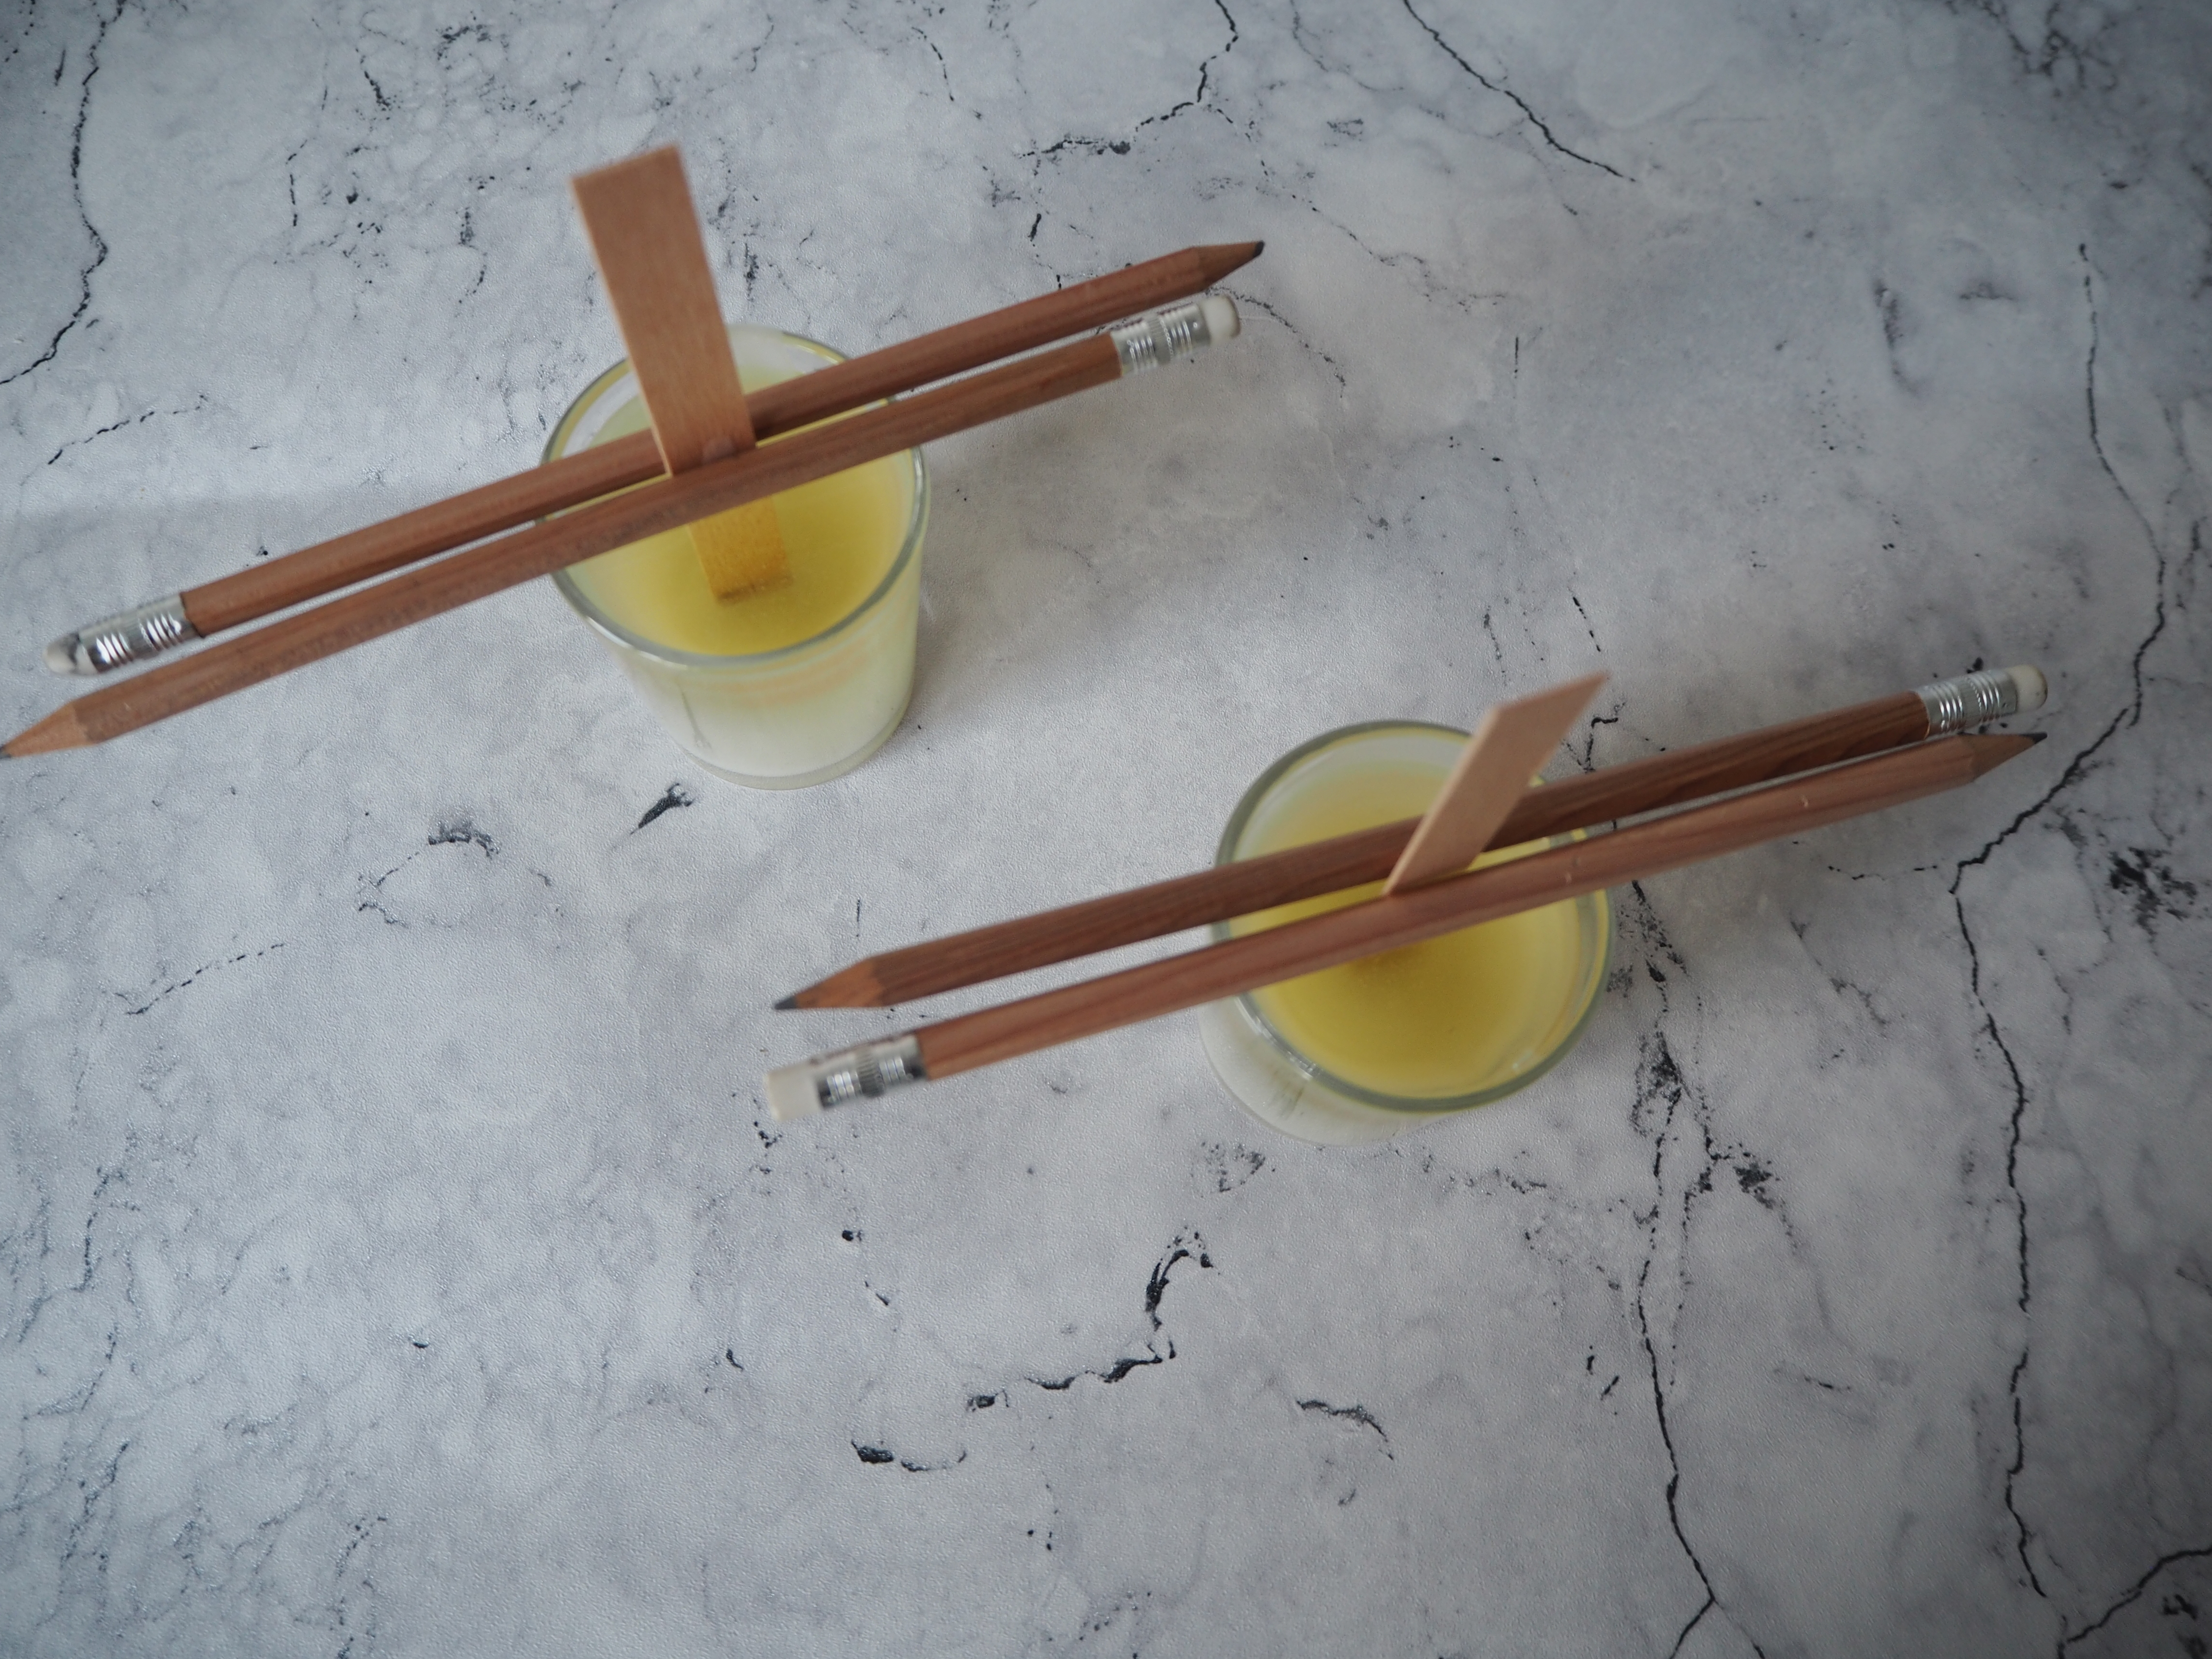
5. Pour your oil into your candle jar and use pencils or chopsticks to keep your wick in the center of your candle. Leave to set for 24 hours.
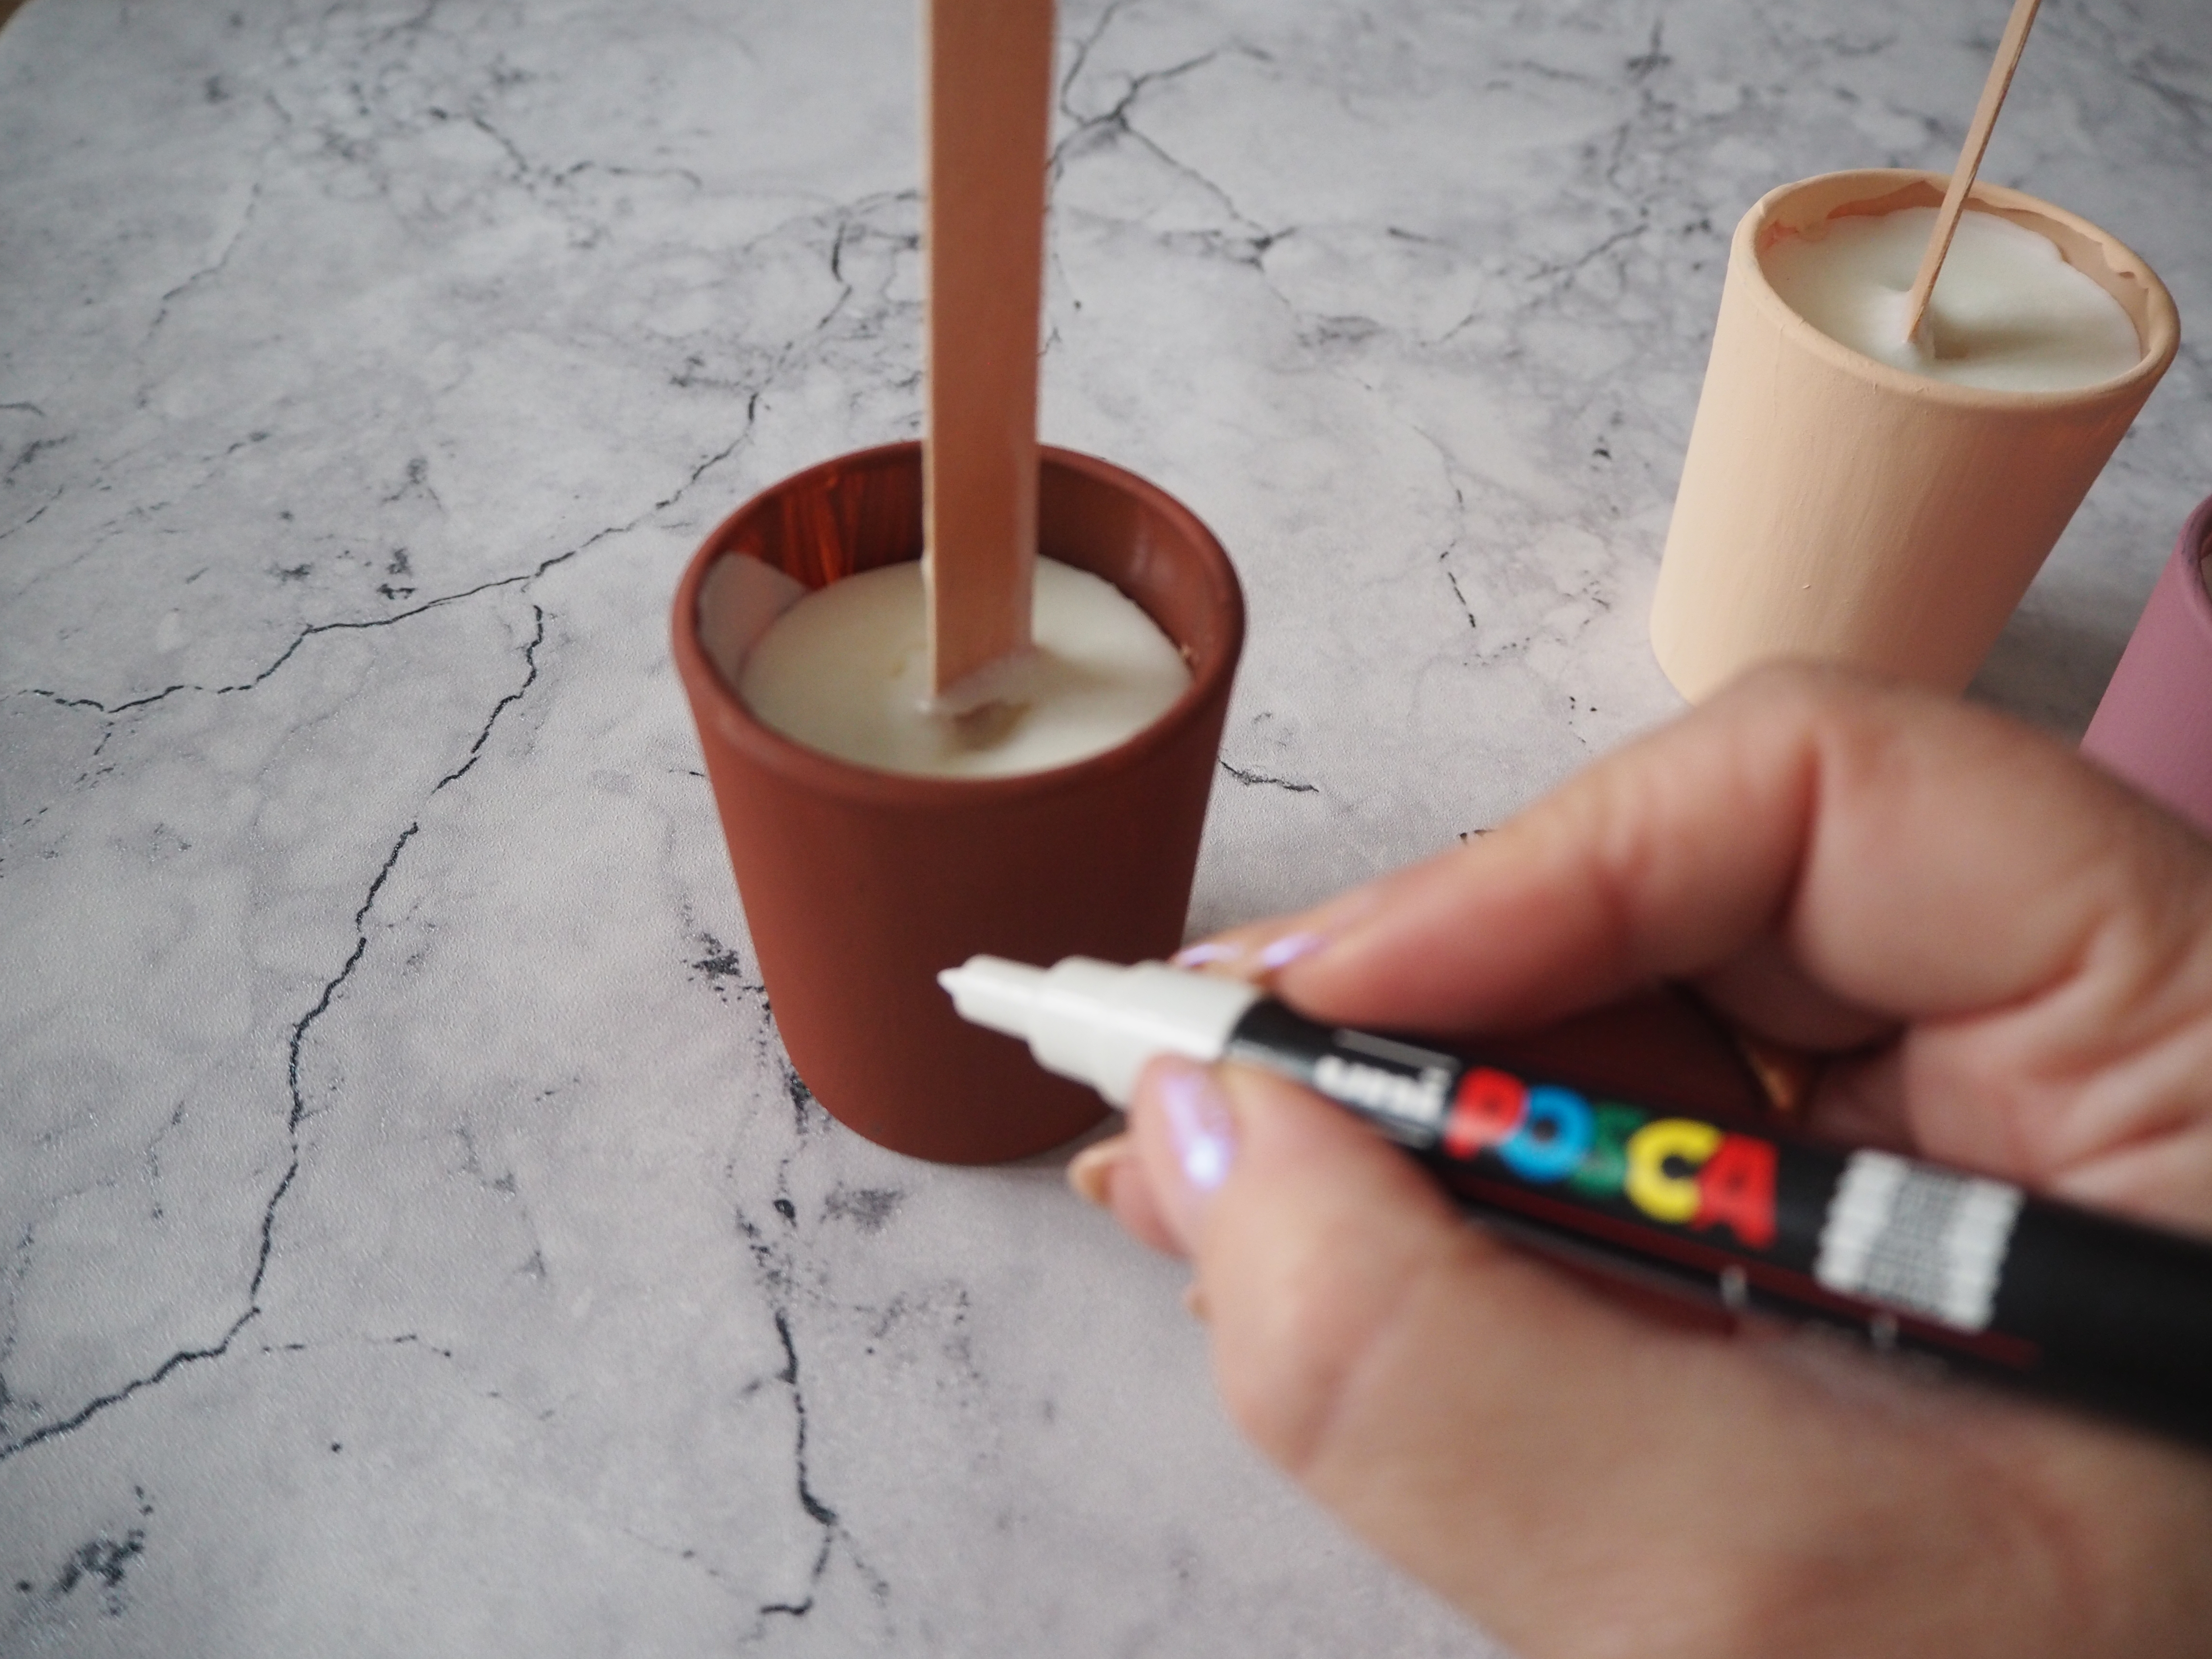
6. Next, paint the outside of your candle jar in your chosen color—you may need two coats to cover it completely. Once it’s dry, use your Posca paint pen to draw on your design, whether it’s a botanical line drawing as we’ve done, or a slogan or pattern.
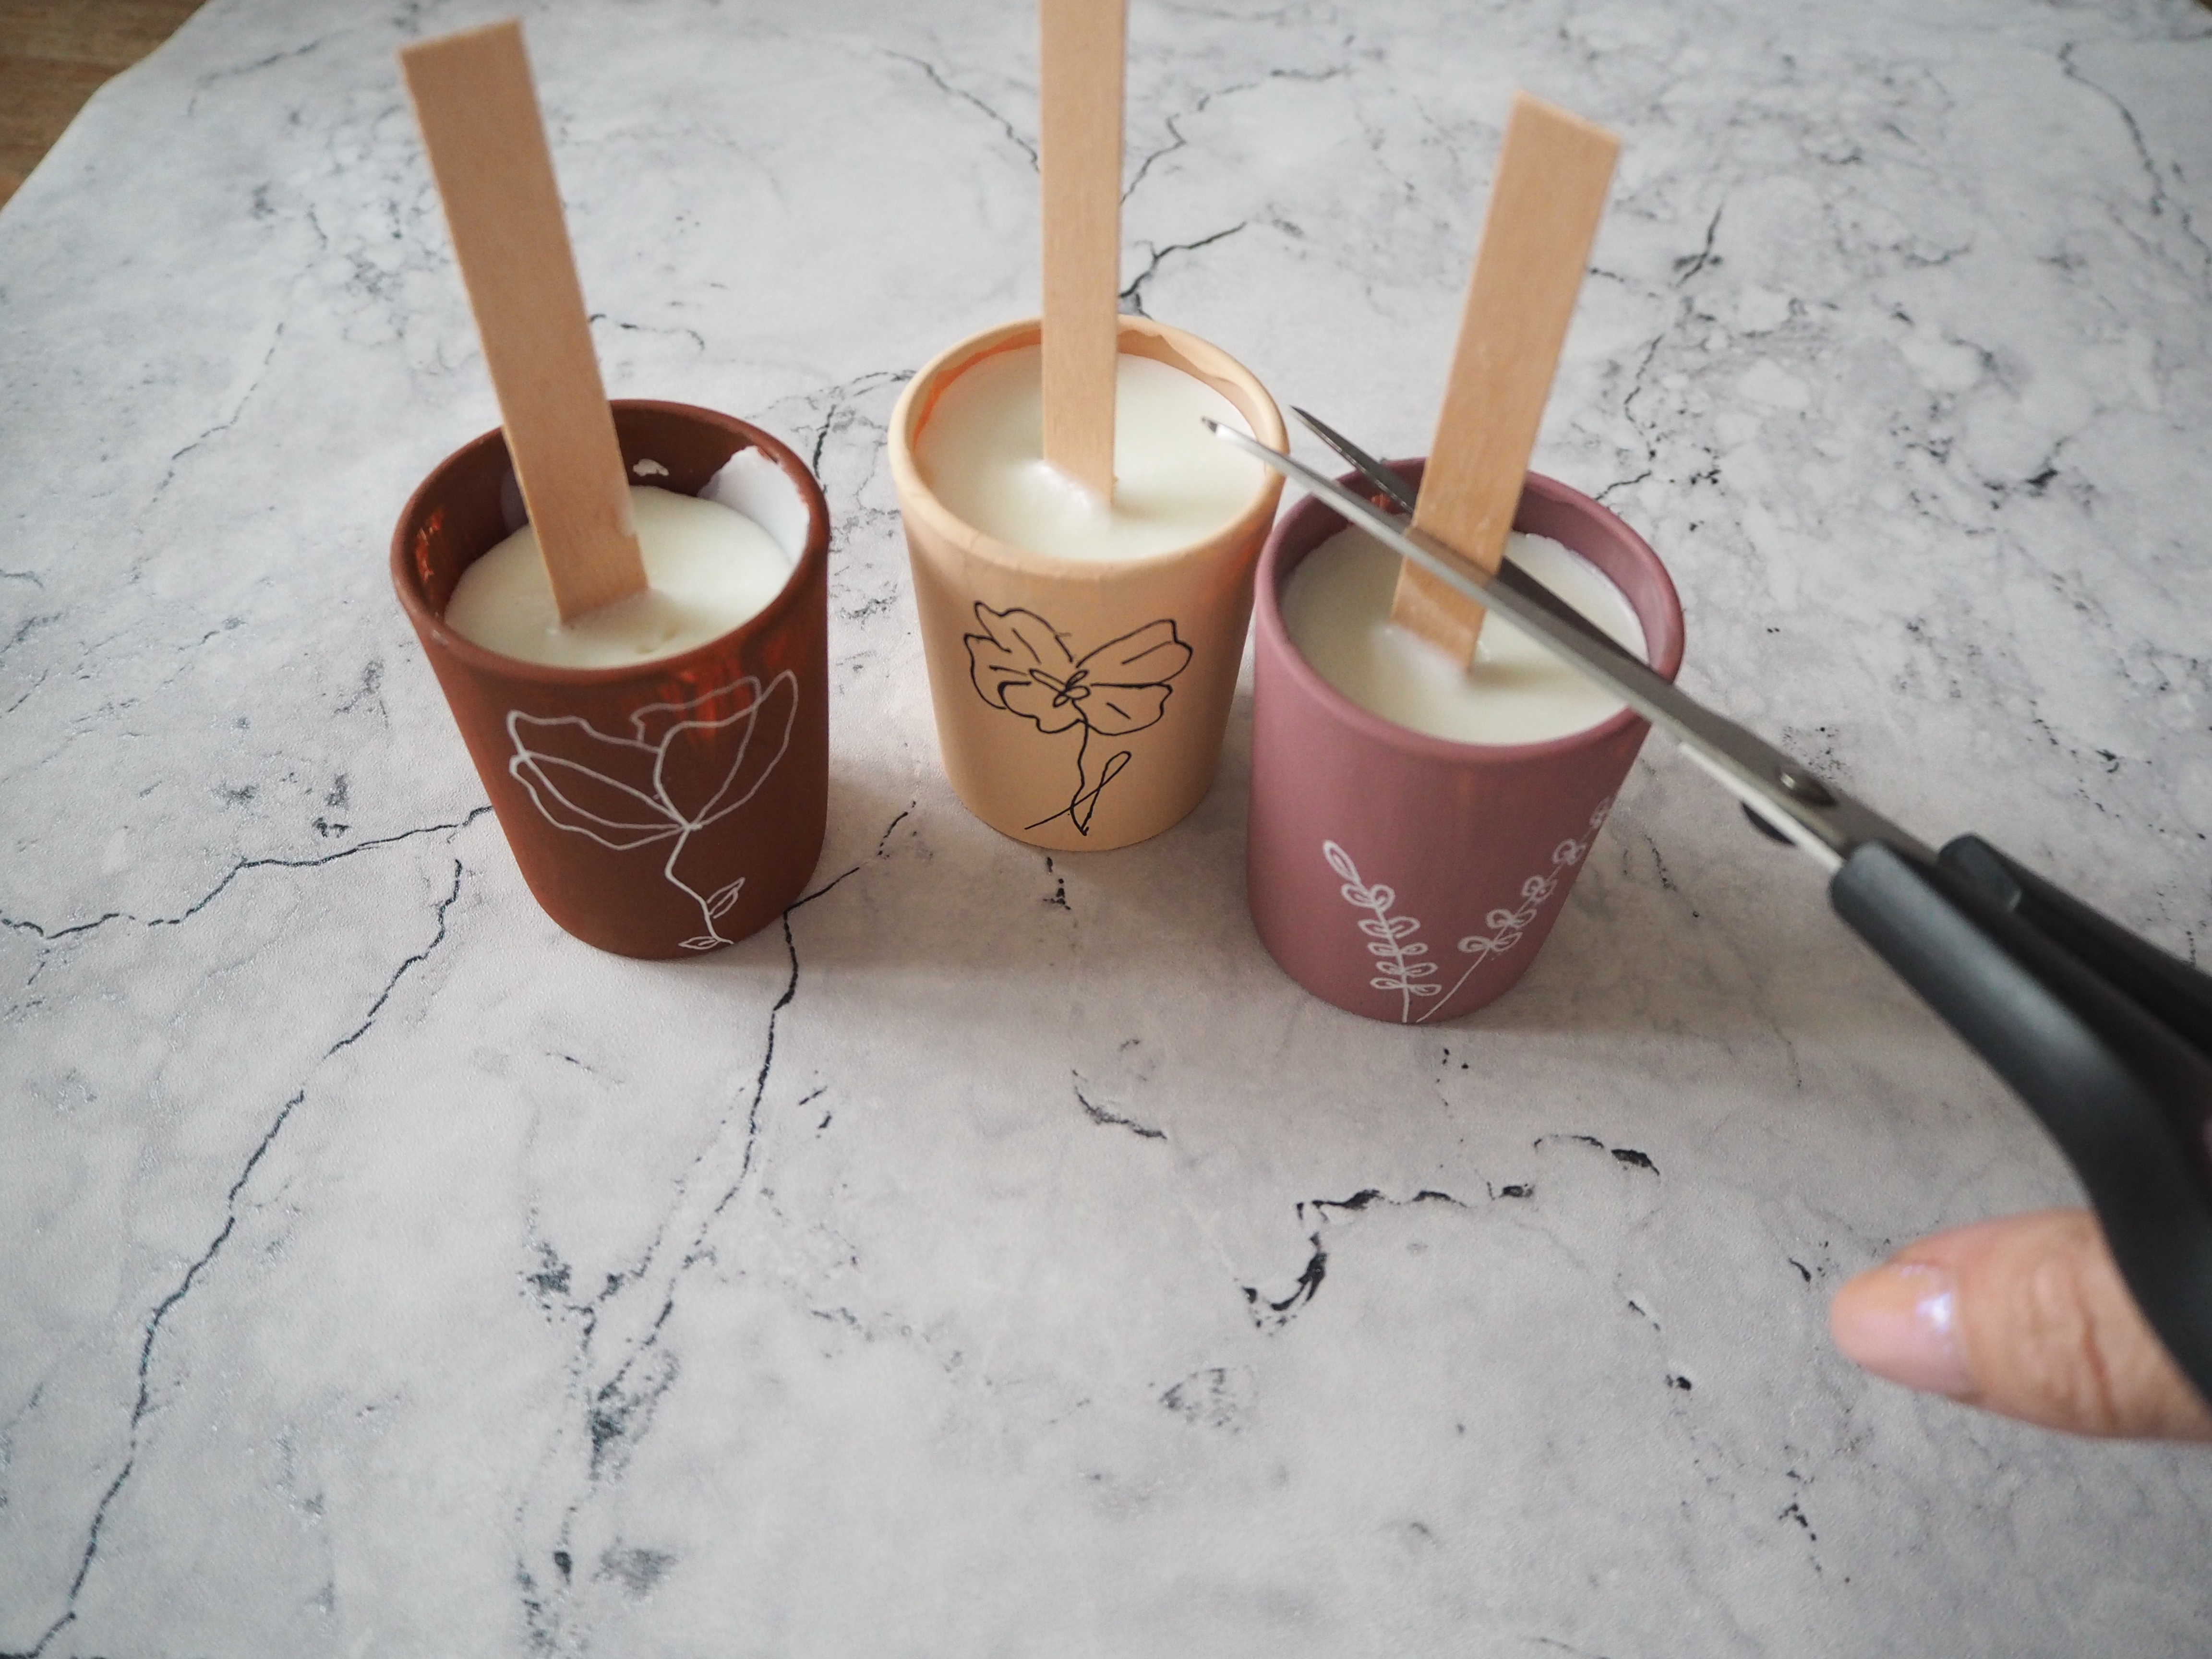
7. Lastly, trim the wooden wick to about a quarter inch above your candle using a sharp pair of scissors and that’s it—you’ve got a beautiful painted candle that you can enjoy or give as a gift!
Laurie Davidson is a Surrey-based freelance interior stylist and writer, who also dabbles in travel, craft and lifestyle content. She has over a decade of publishing experience and spent five years as the Homes & Interiors Editor on Style at Home magazine.